-
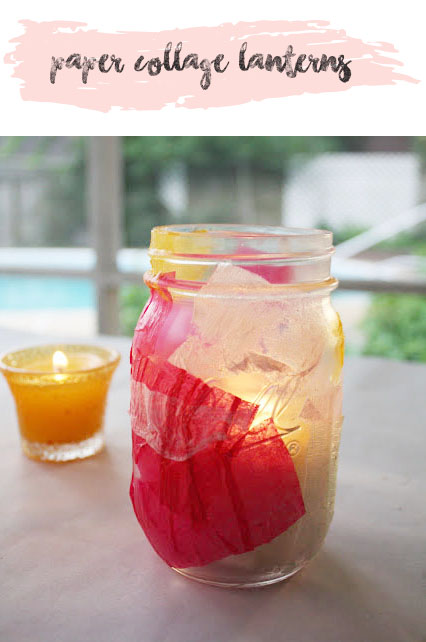
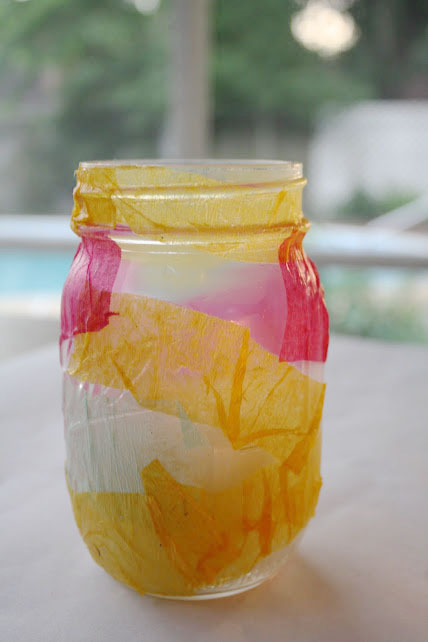
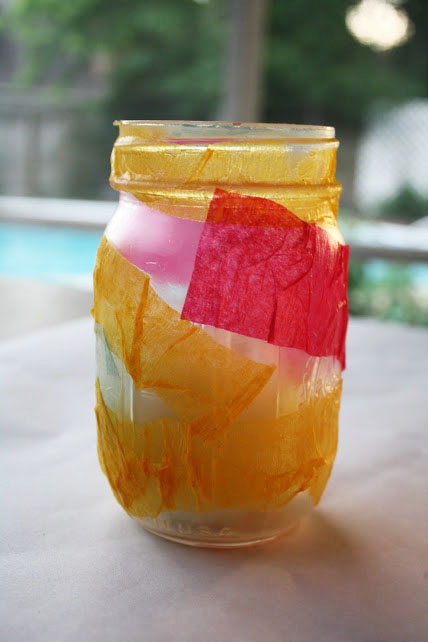
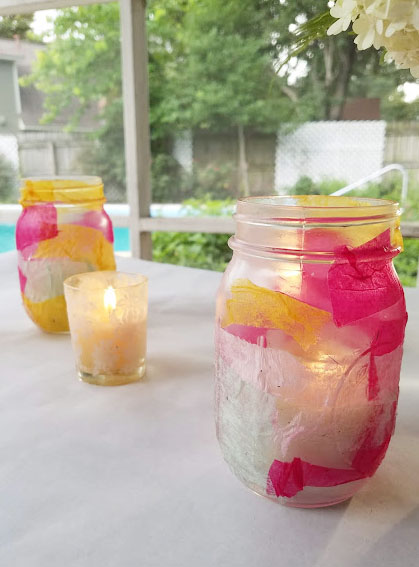
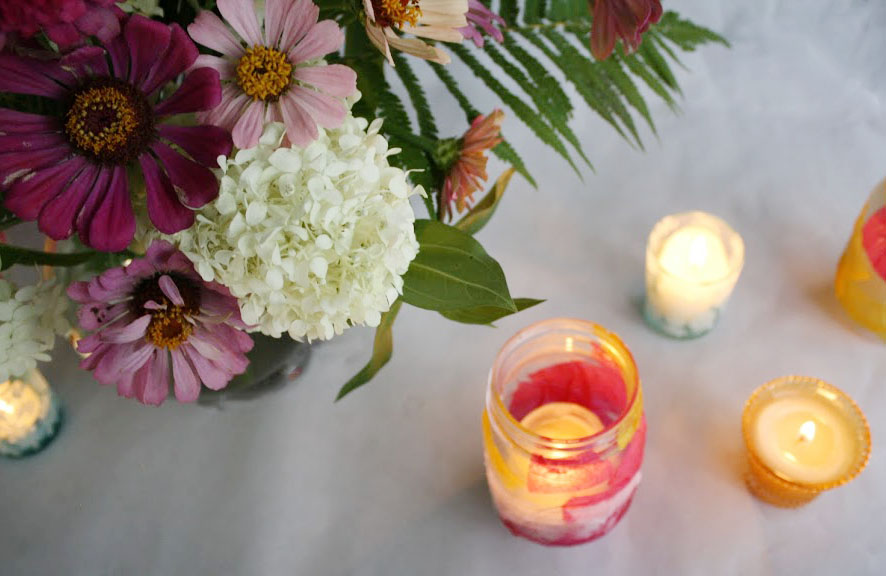
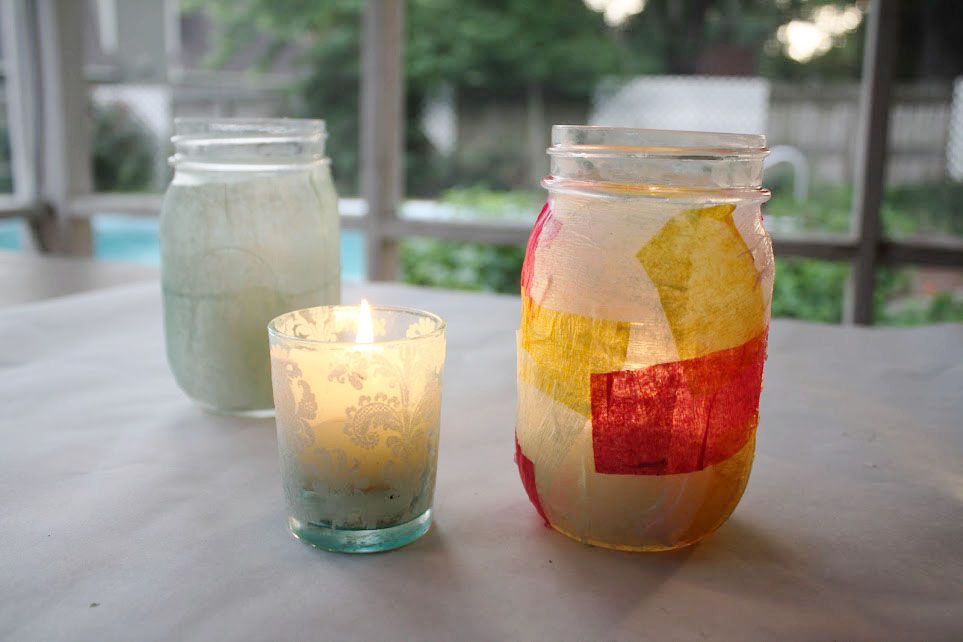
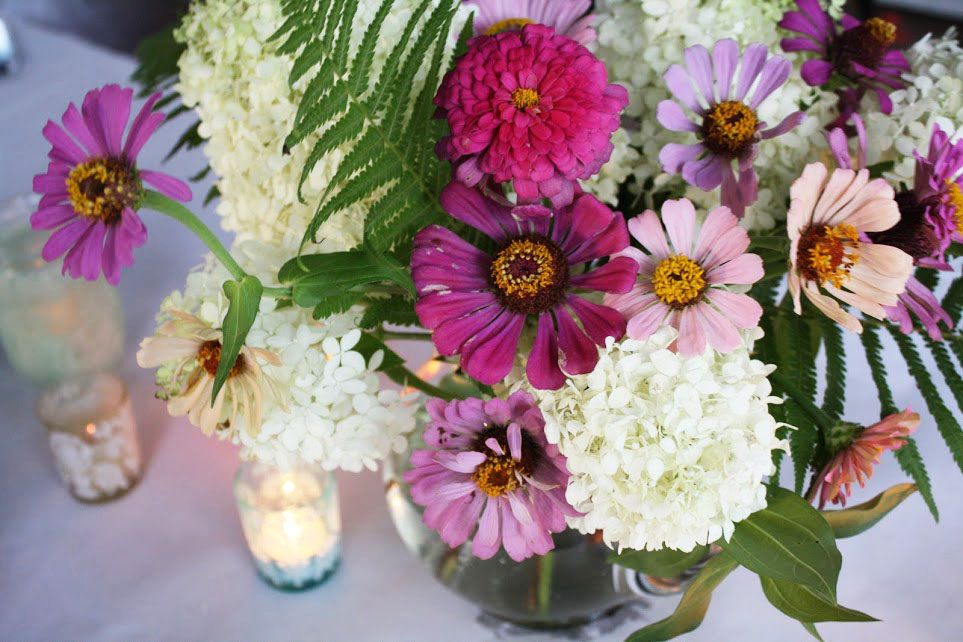
I love this project sooo much! These lanterns are super versatile, inexpensive, easy, and beautiful! I don’t think it gets much better than that for a project. The end result looks like a dreamy watercolor, lit up. I wish I could say that I had an awesome occasion to use them right away, but alas, I did not. I couldn’t resist throwing together some colorful stems from my yard, and whipping out my old votives (from my wedding, almost 11 yrs ago!) to mix and match with these. I felt like they are the perfect tabletop decoration for your summer parties! Even if you didn’t have any flowers to pair with them, they are beautiful on their own. You could mix and match glass containers for a variety of sizes and shapes (think baby food jars, old vases, different sized jars).
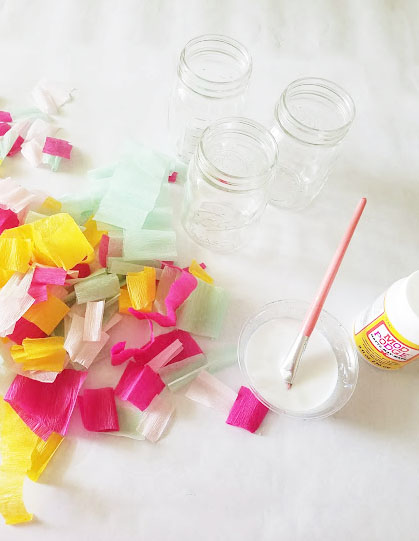
I started out by giving a small amount of glue (mod podge) to each of the kids in their own plastic bowl. This helps so that they all can work at their own pace, without feeling distracted by the other kids. We cut a bunch of scraps out of crepe paper until we felt like we had a fun variety of shapes and colors, and enough for all of us to complete a jar.
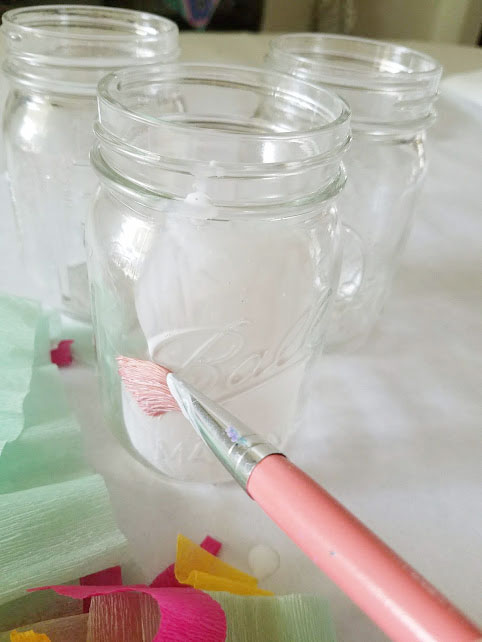
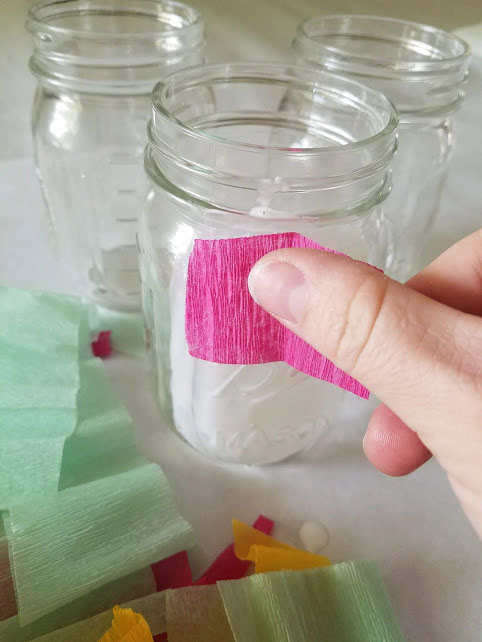
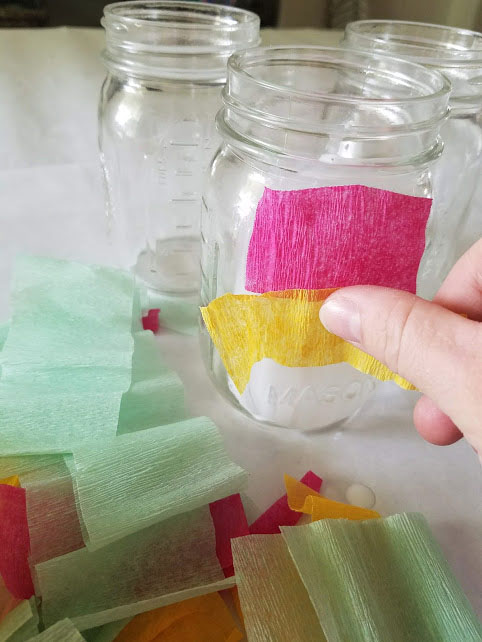
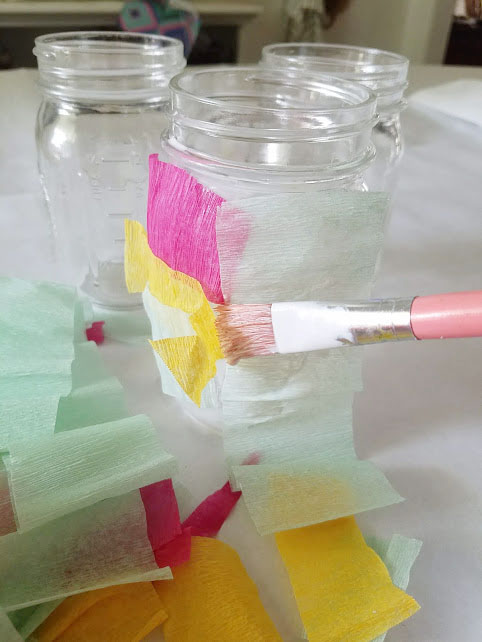
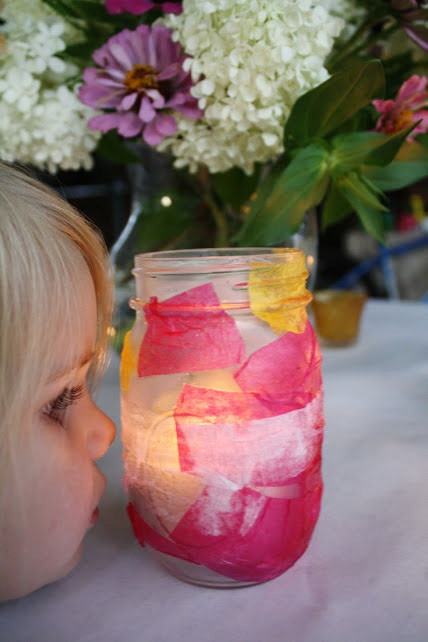
From there, it’s pretty easy! Paint a small portion of your jar with the glue and add a piece of the crepe paper to it. Continue to paint and add pieces until you get the look you are going for. Make sure if you are overlapping pieces, to get enough glue under the next piece so that they all stick. This is such a fun and therapeutic process. I loved seeing how each of my kids approached it, and their end result. Once you have added all the pieces that you want, let it dry until it’s slightly tacky. You will want to leave it a little tacky so that the pieces don’t move around while you paint the top coat, but can push pieces flush, if necessary.
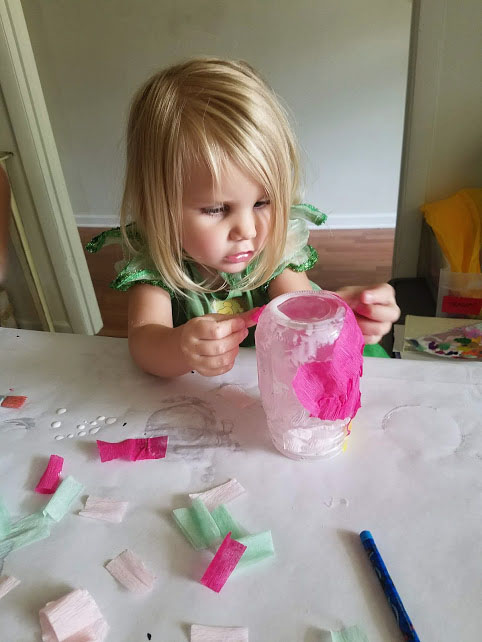
Mostly pink for this girl!
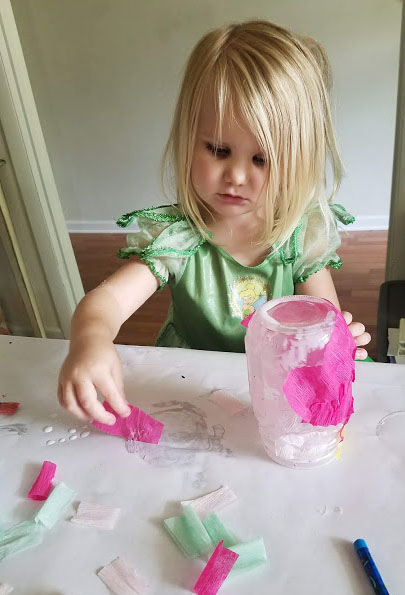
You can see here, that Noelle’s pieces aren’t flush with the jar, but that’s totally okay! If your little one has some puckering on their jar, just tack it down with your top coat!
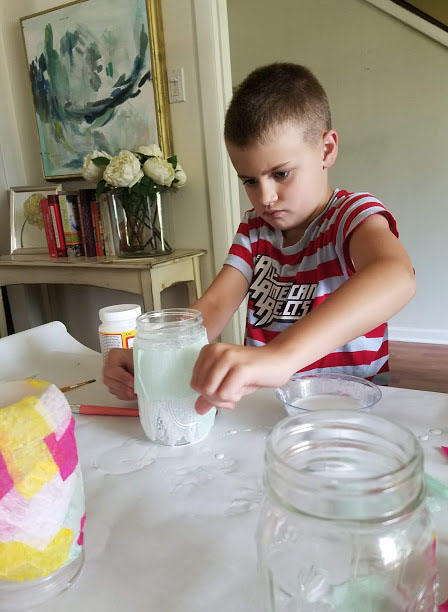
Jared’s creative face is the best (haha)! He is really concentrating! I love that he chose to do his jar all in the green. No wrong way to do this! It’s just important for them to create and express!
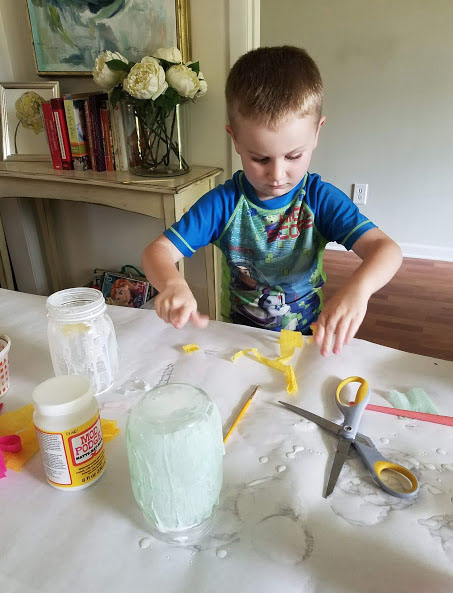
I think Sam like cutting and tearing the paper better than actually layering it!
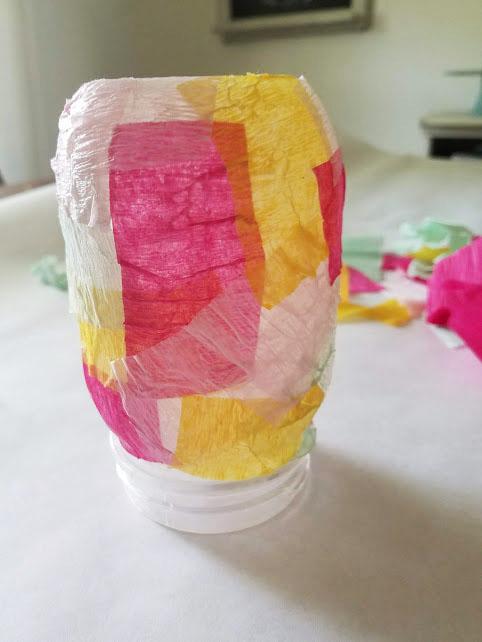
Once the glue is tacky, paint another layer of it over the top of the crepe paper so that it helps to seal it. Then let it dry, and voila! Your magical lantern is finished! At this point, you can add some string or wire around the top rim of the jar if you’d like so that you can hang them from hooks or a tree. I think it would be sooo magical to have a bunch of these hanging at different heights from a tree for a party. I wouldn’t recommend leaving them outside though. I don’t think they would be super weather-proof.
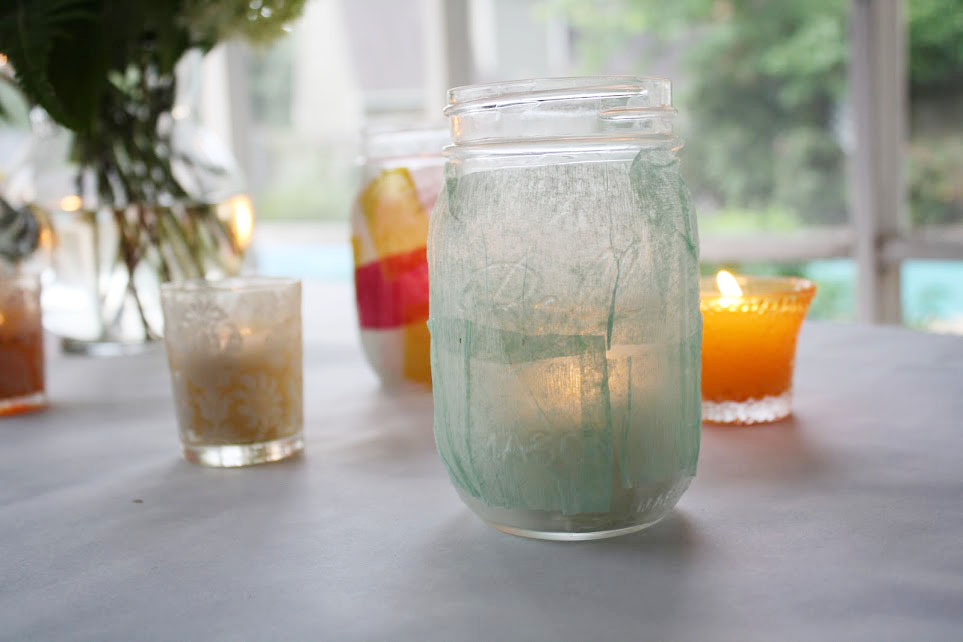
I LOVE how Jared’s all green lantern turned out!
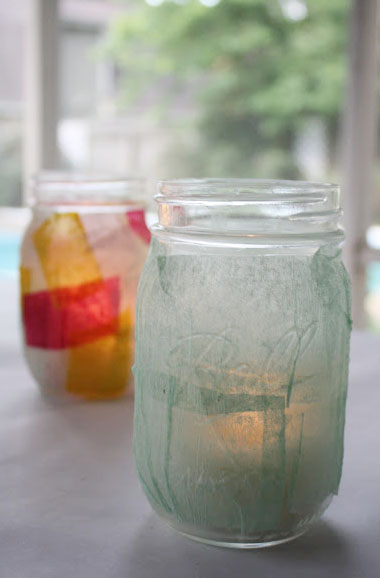
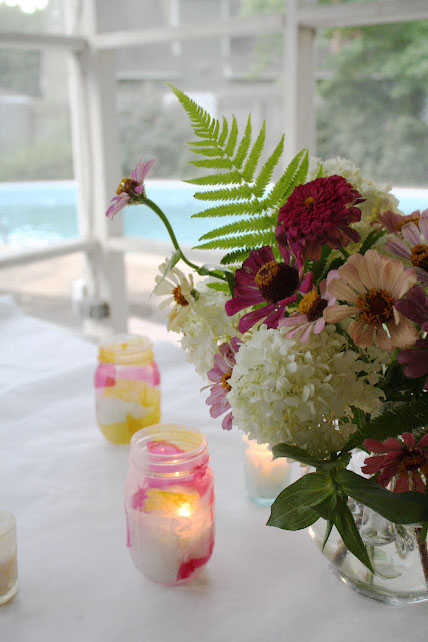
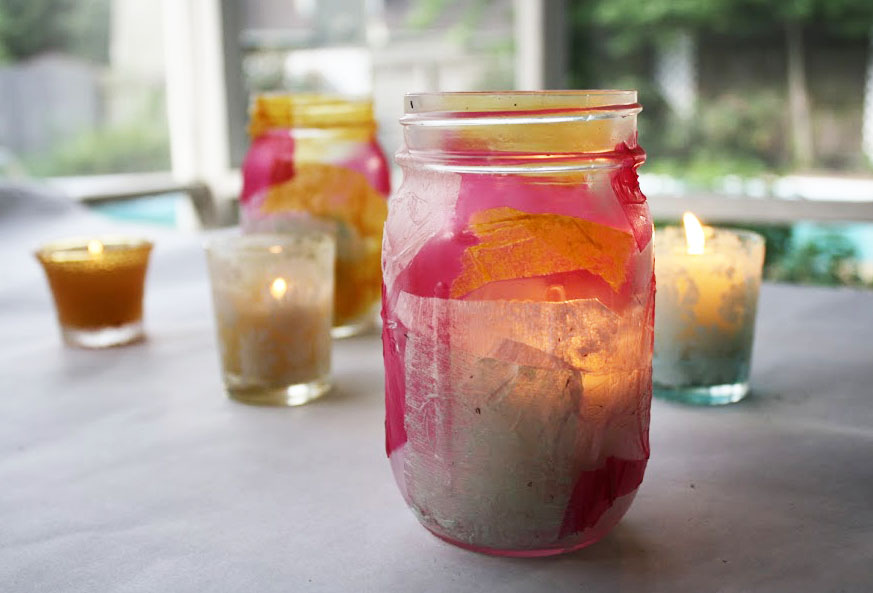
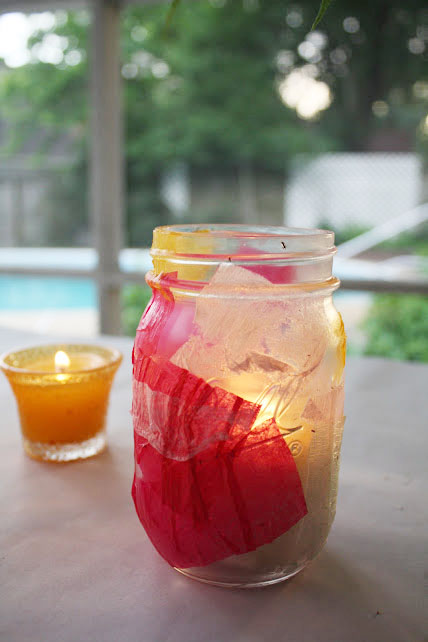
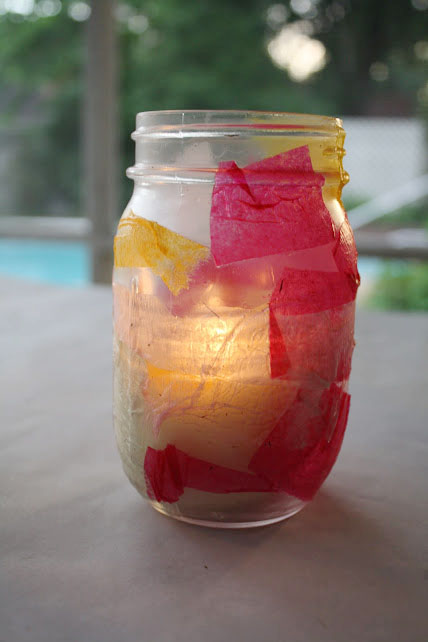
Okay, so I know my photography and editing skills are still lacking, but aside from that… isn’t this lantern just so dreamy? There are little flecks of I- don’t -know- what that got stuck in there while these were being made, but I still just love how they turned out. Every time I look at them, it puts a smile on my face and inspires me to want to create!
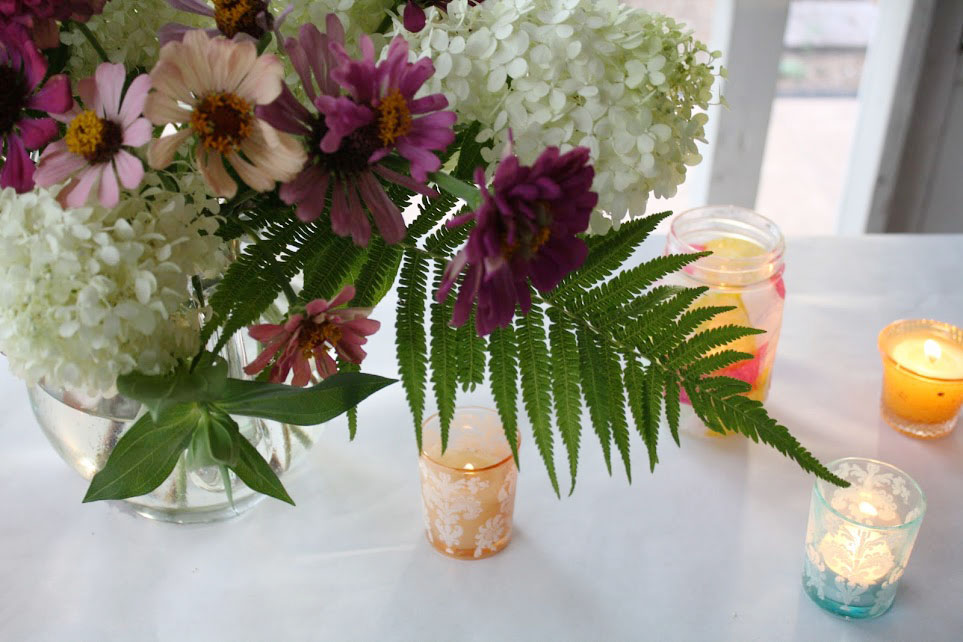
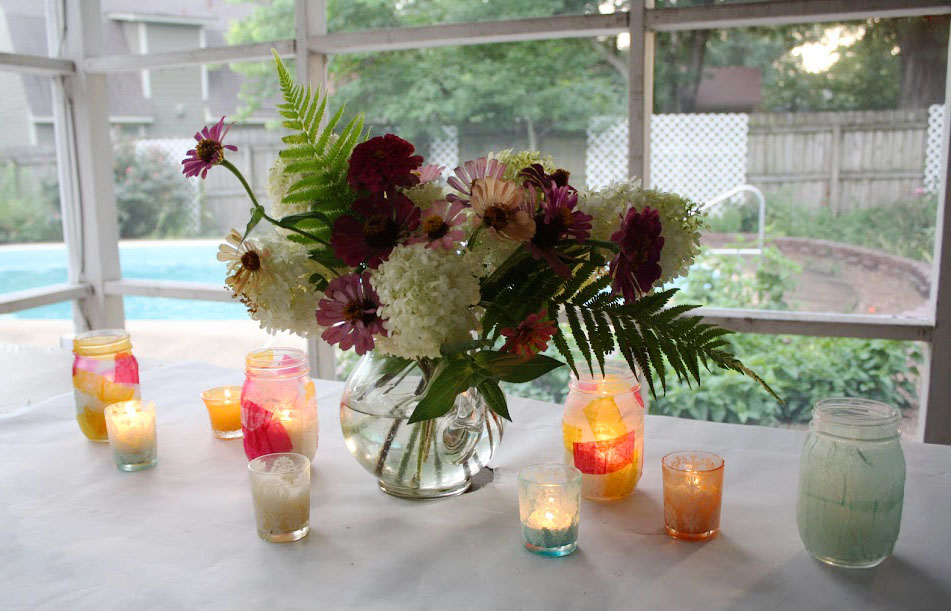
I also have been using them to store some of our art supplies, like markers and paint brushes. You could also throw some silk stems or flowers in them for a fun decoration. I used them to hold some sweet Zinnia’s from my yard, that my daughter picked, and it was the happiest vase I’ve ever seen! If you choose to use it for fresh flowers, be careful when you are filling it with water, so that is doesn’t get the exterior finish too wet.
I hope you have some fun creating some of these lanterns yourselves! Please tag and share your creations! I’d love to see what you come up with!
-
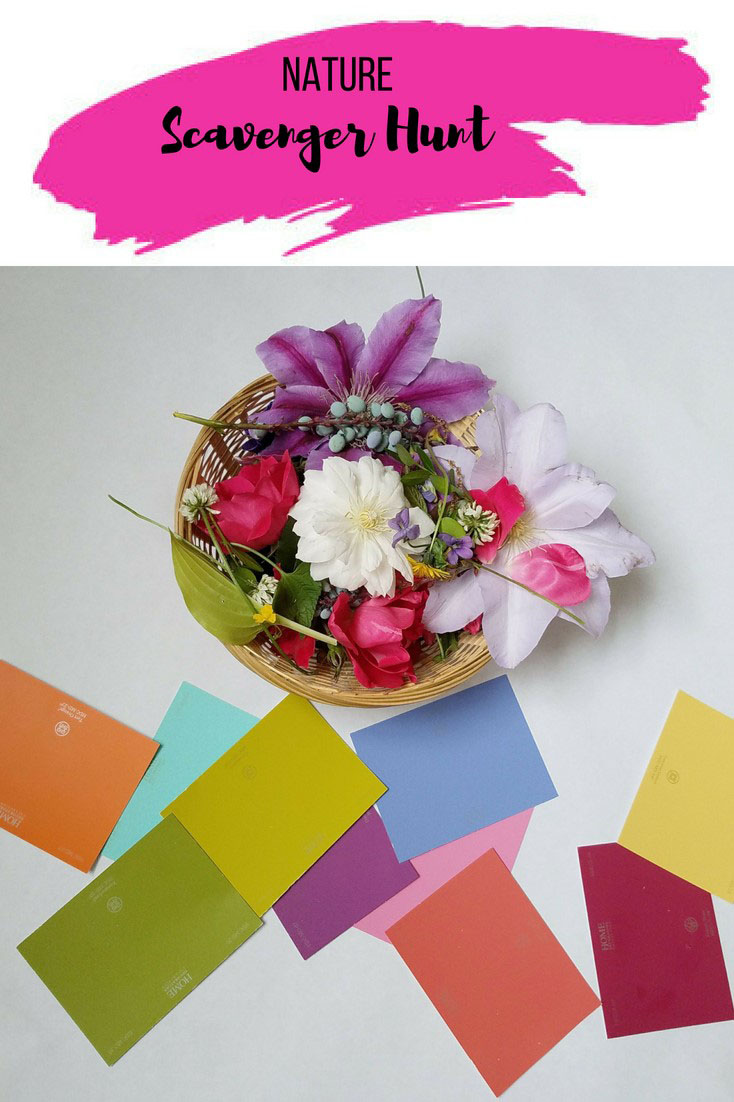
Hi, Y’all! I’m so excited to share this post with you today! A nature scavenger hunt is such a fun, easy activity for you and your kids to do together. Aside from it being fun and easy, it helps your kids with their color recognition and helps them to gain a better appreciation for all the beauty around them. I love that you can break this up into a couple days by gathering paint chips one day and then doing all your exploring and adventuring on another day.
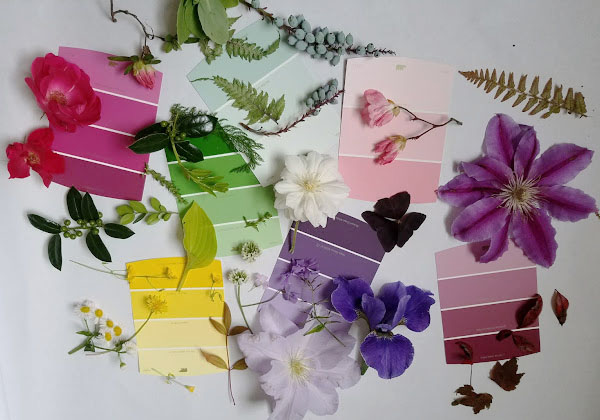
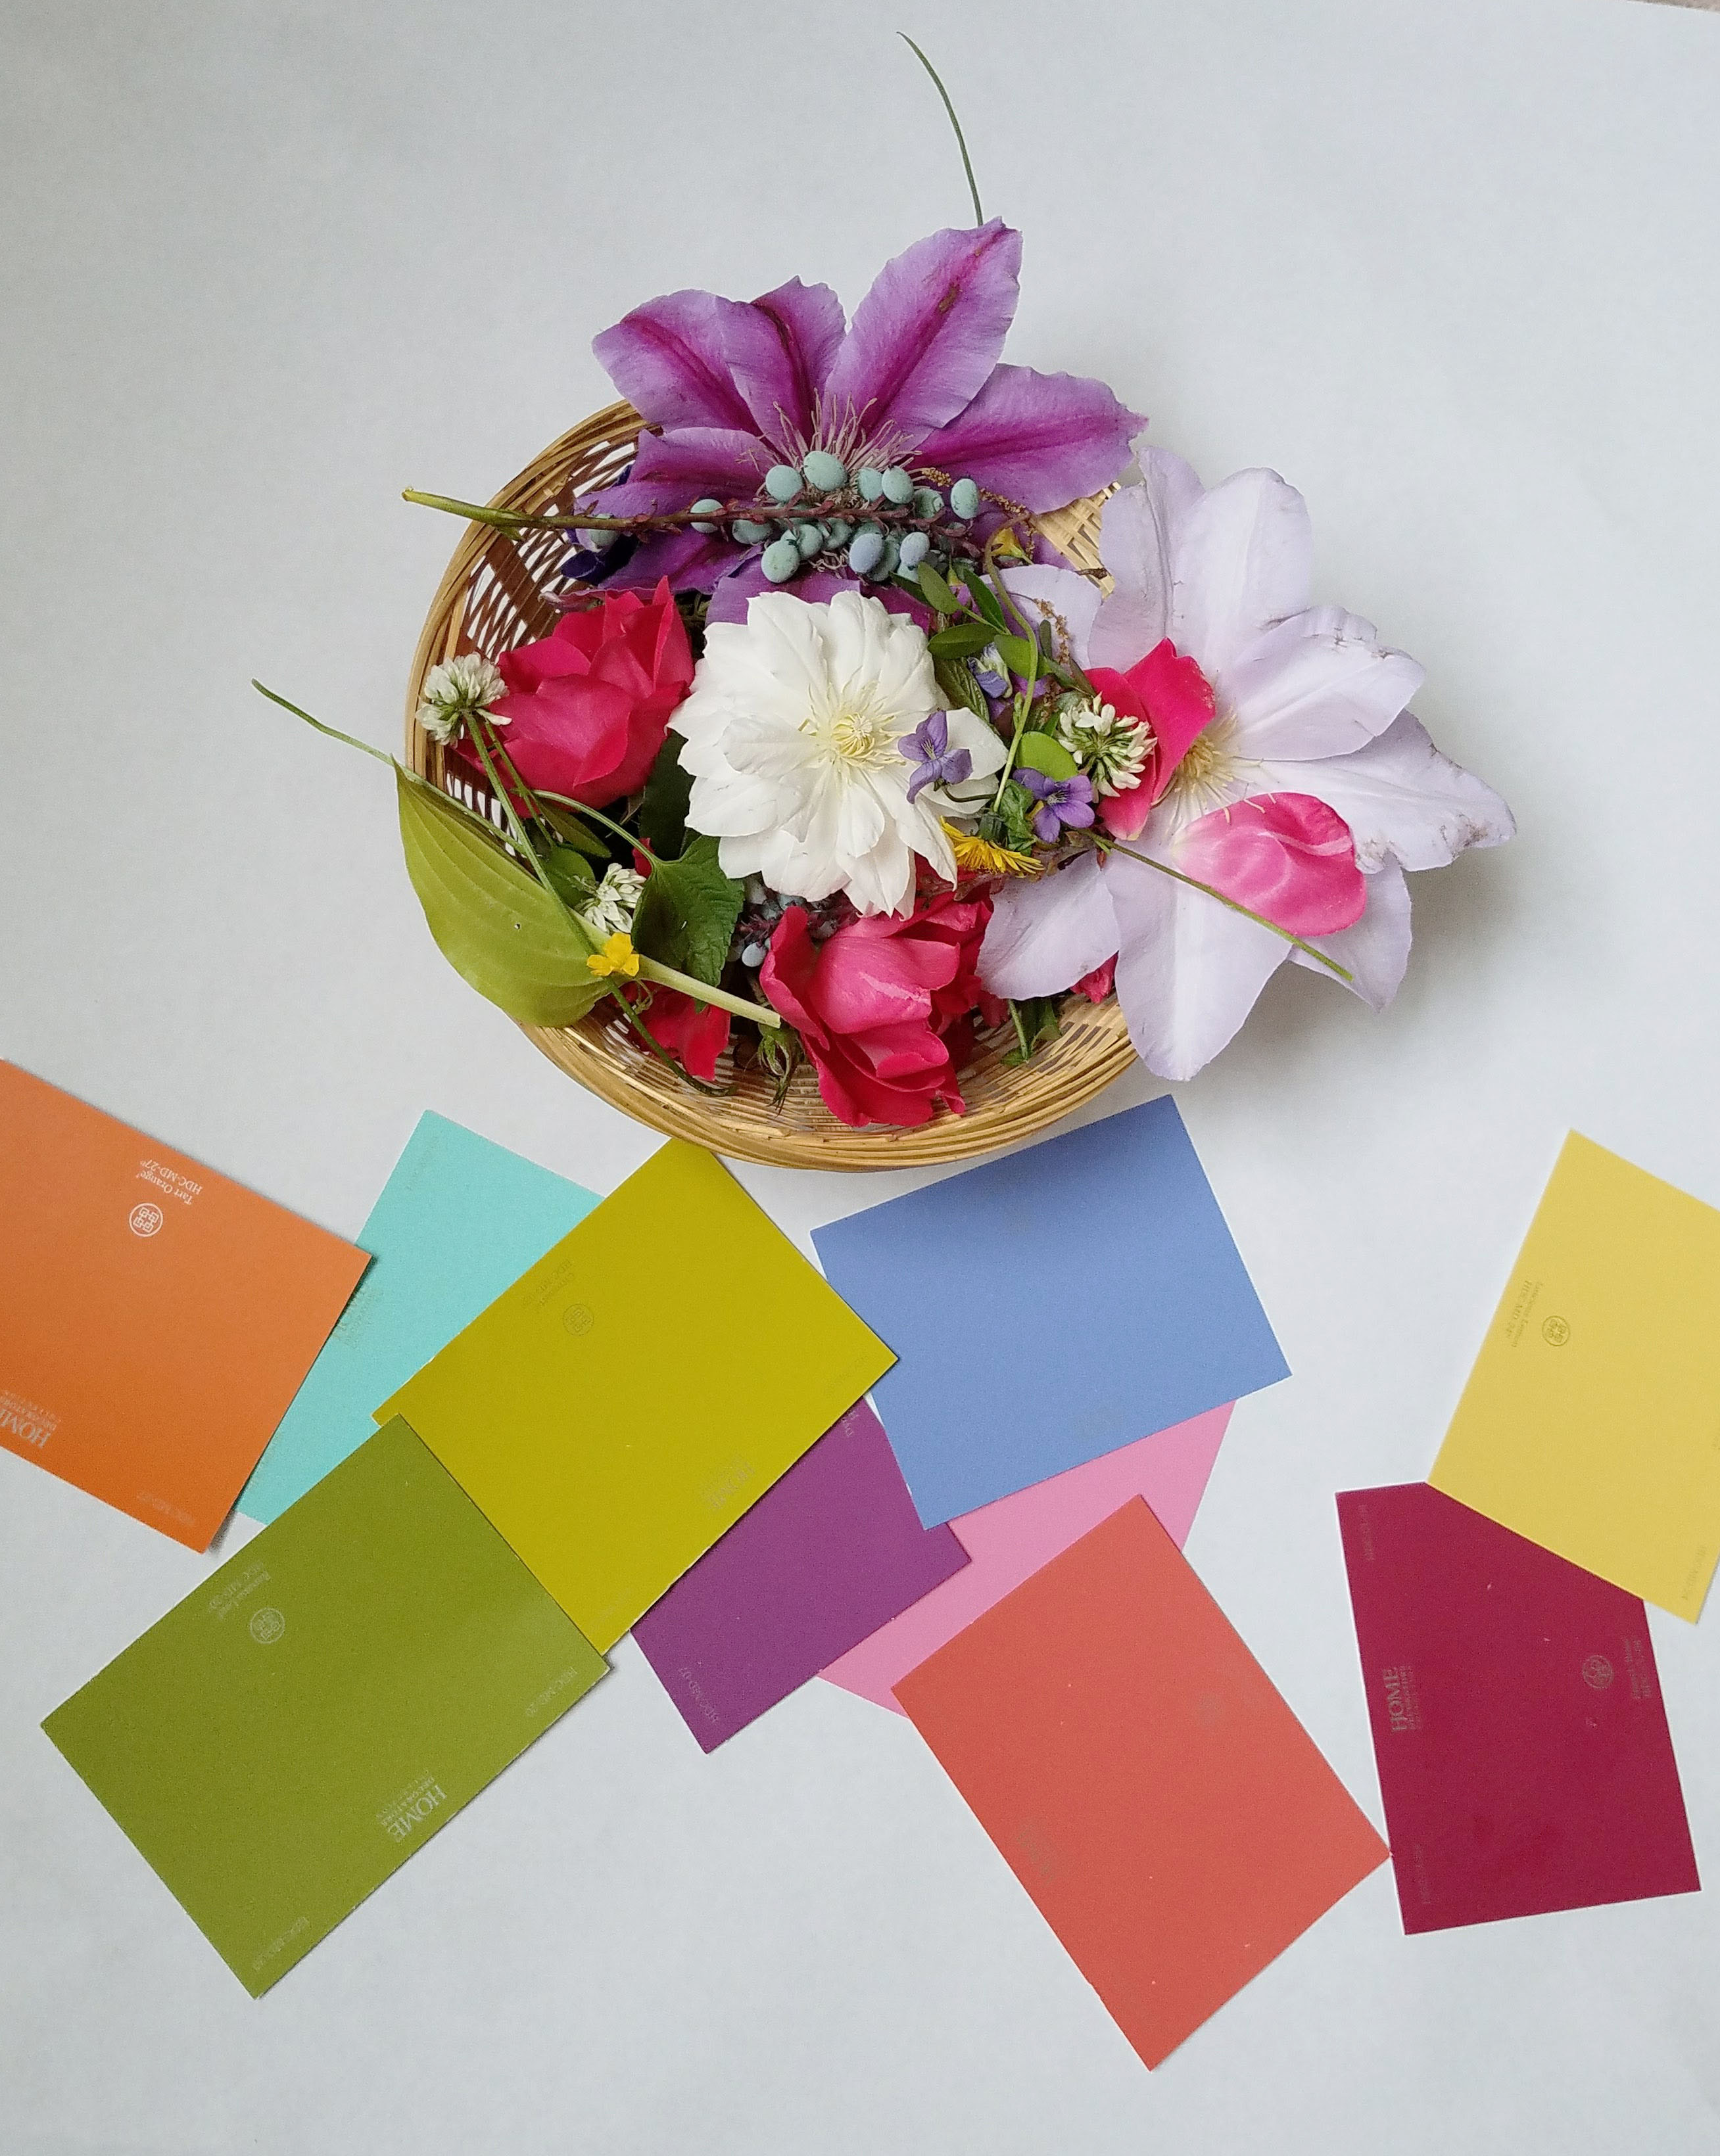
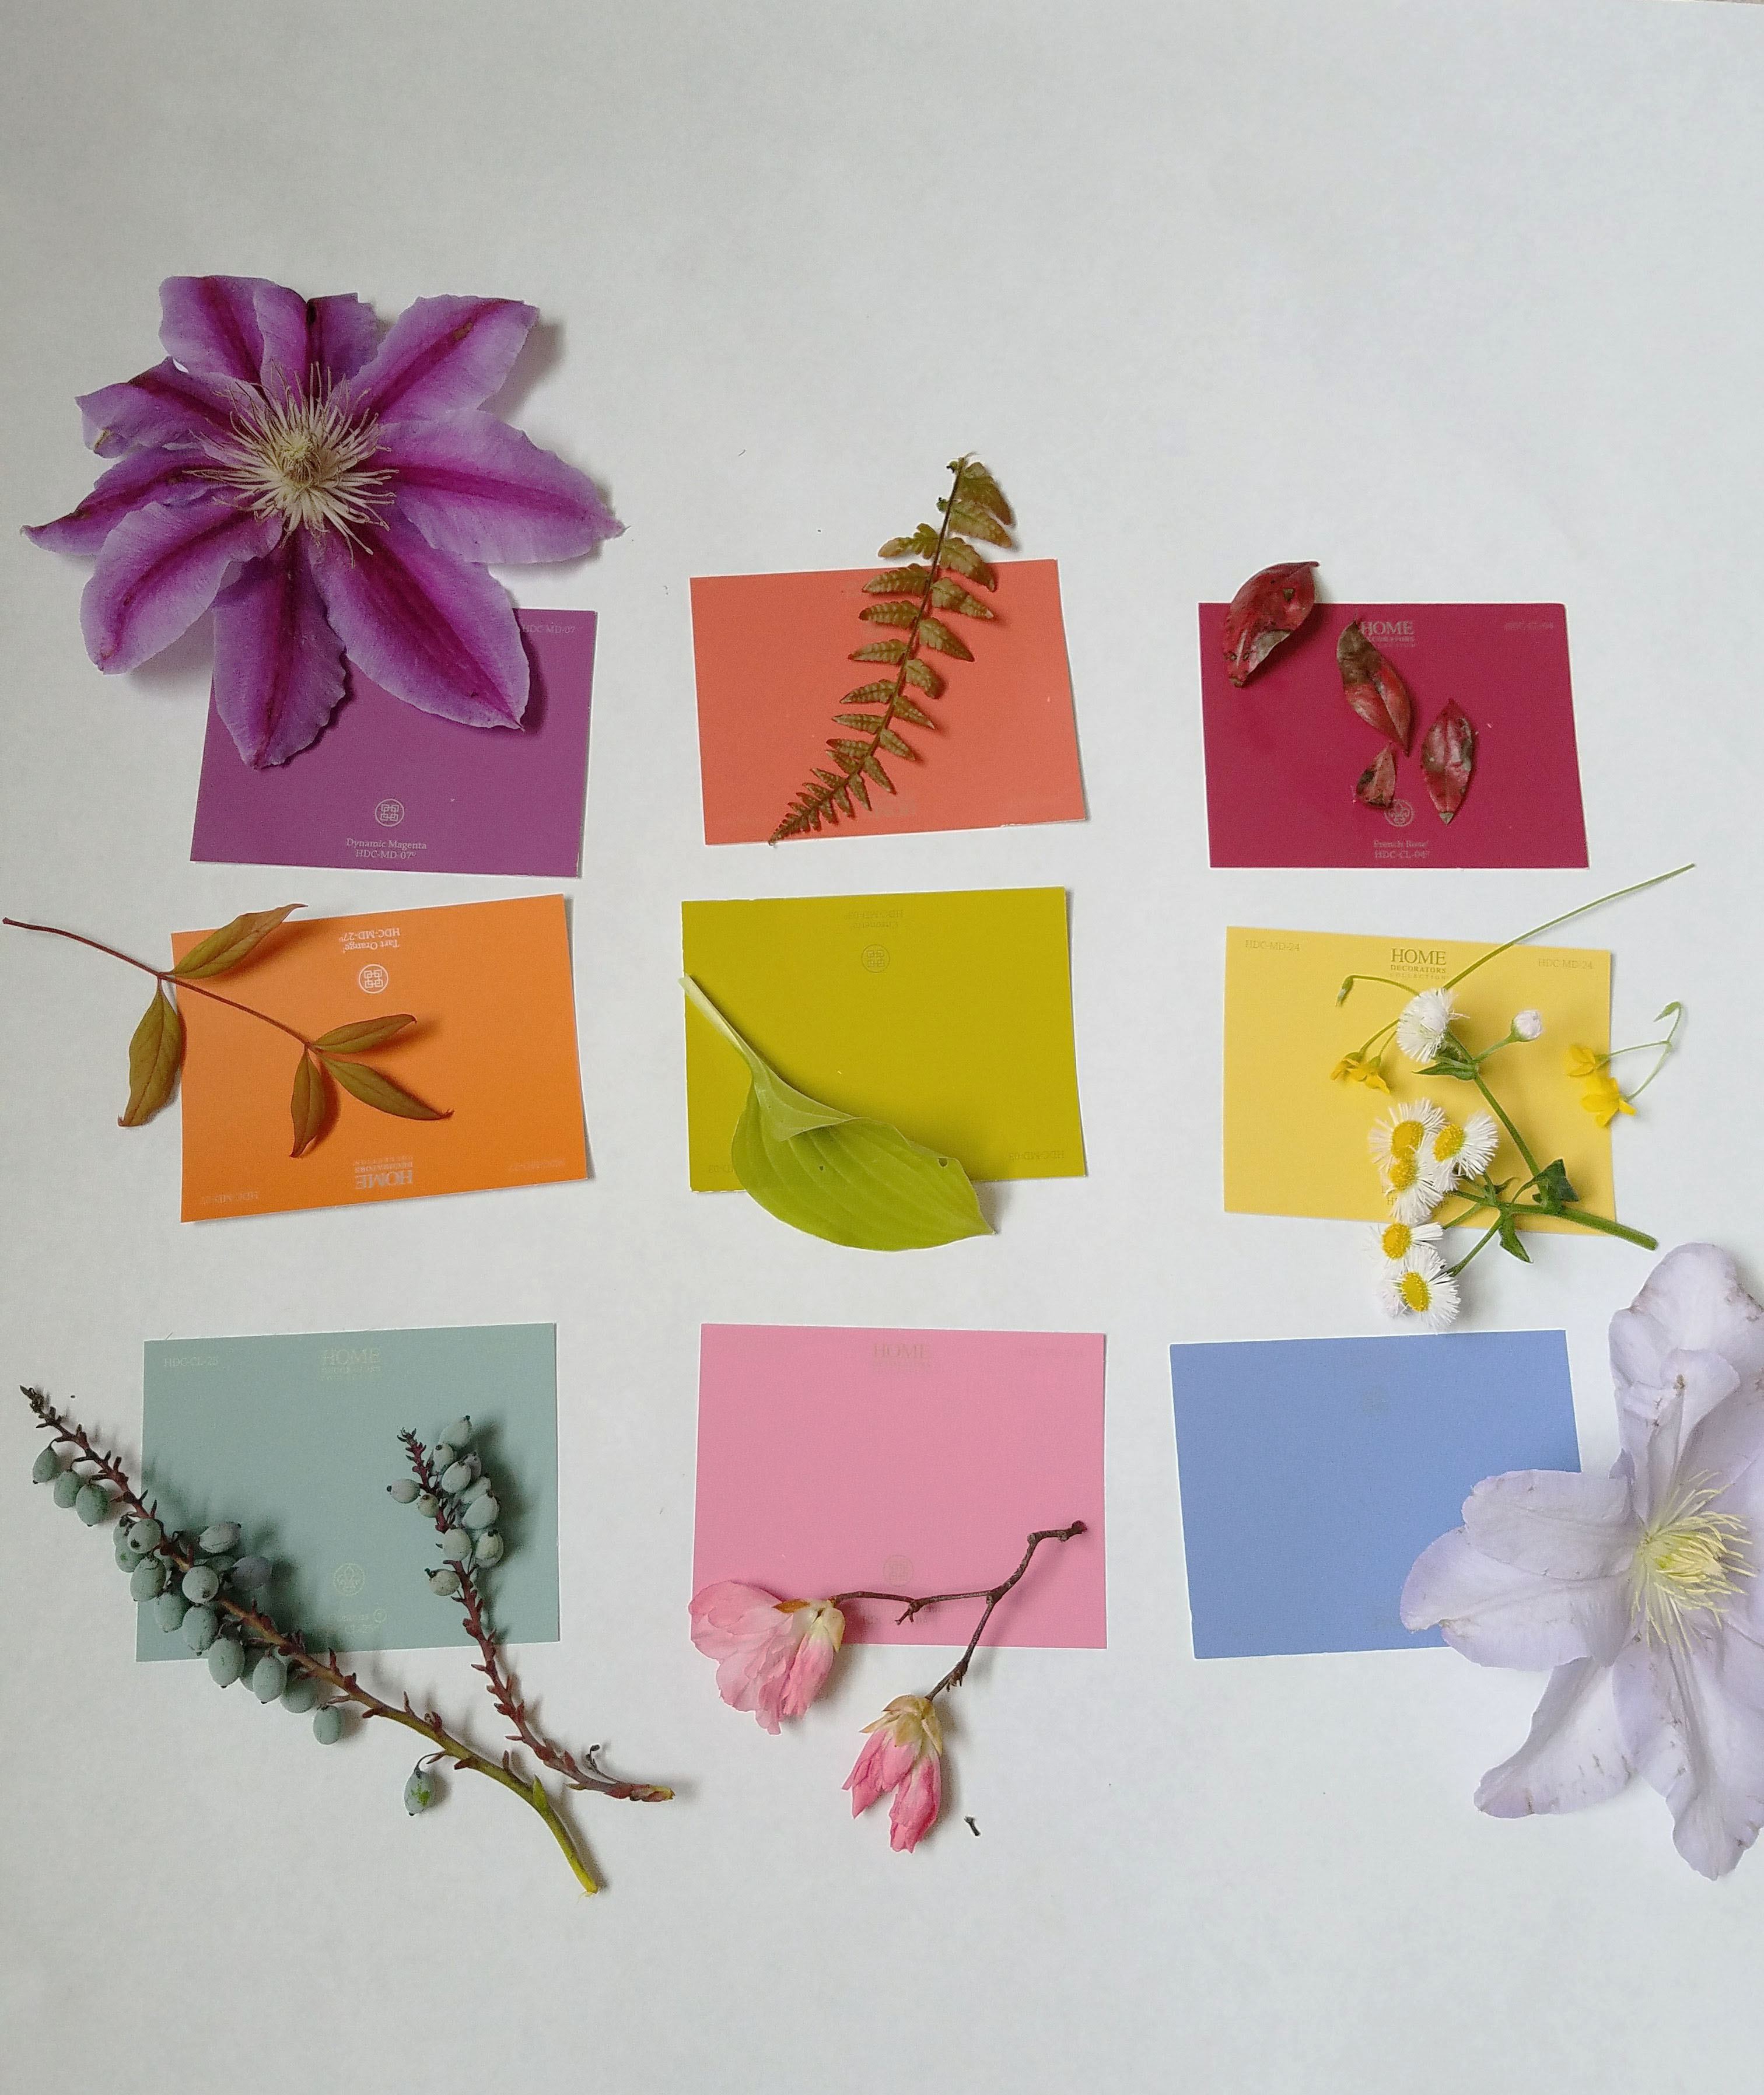
We chose to break it up, and it made all my kids anticipate the actual hunt. The first day we went to good old Home Depot and I let the kids choose their own color swatches. It was so fun to see all of their choices. I may or may not have picked up a few of my favorites as well, because….colors! After we felt like we had a good variety we took them home and planned out where we would go to collect beautiful and interesting nature treasures.
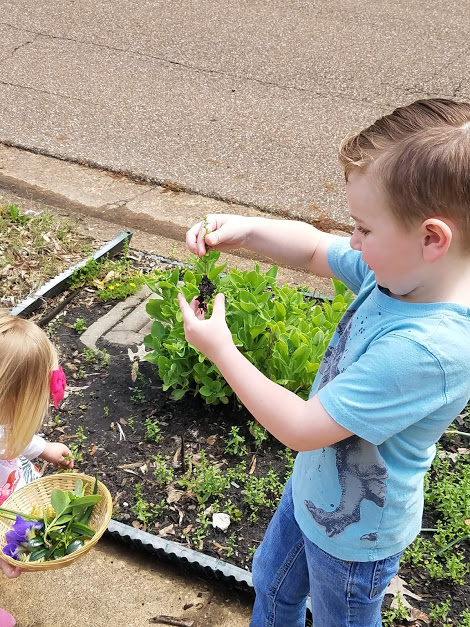
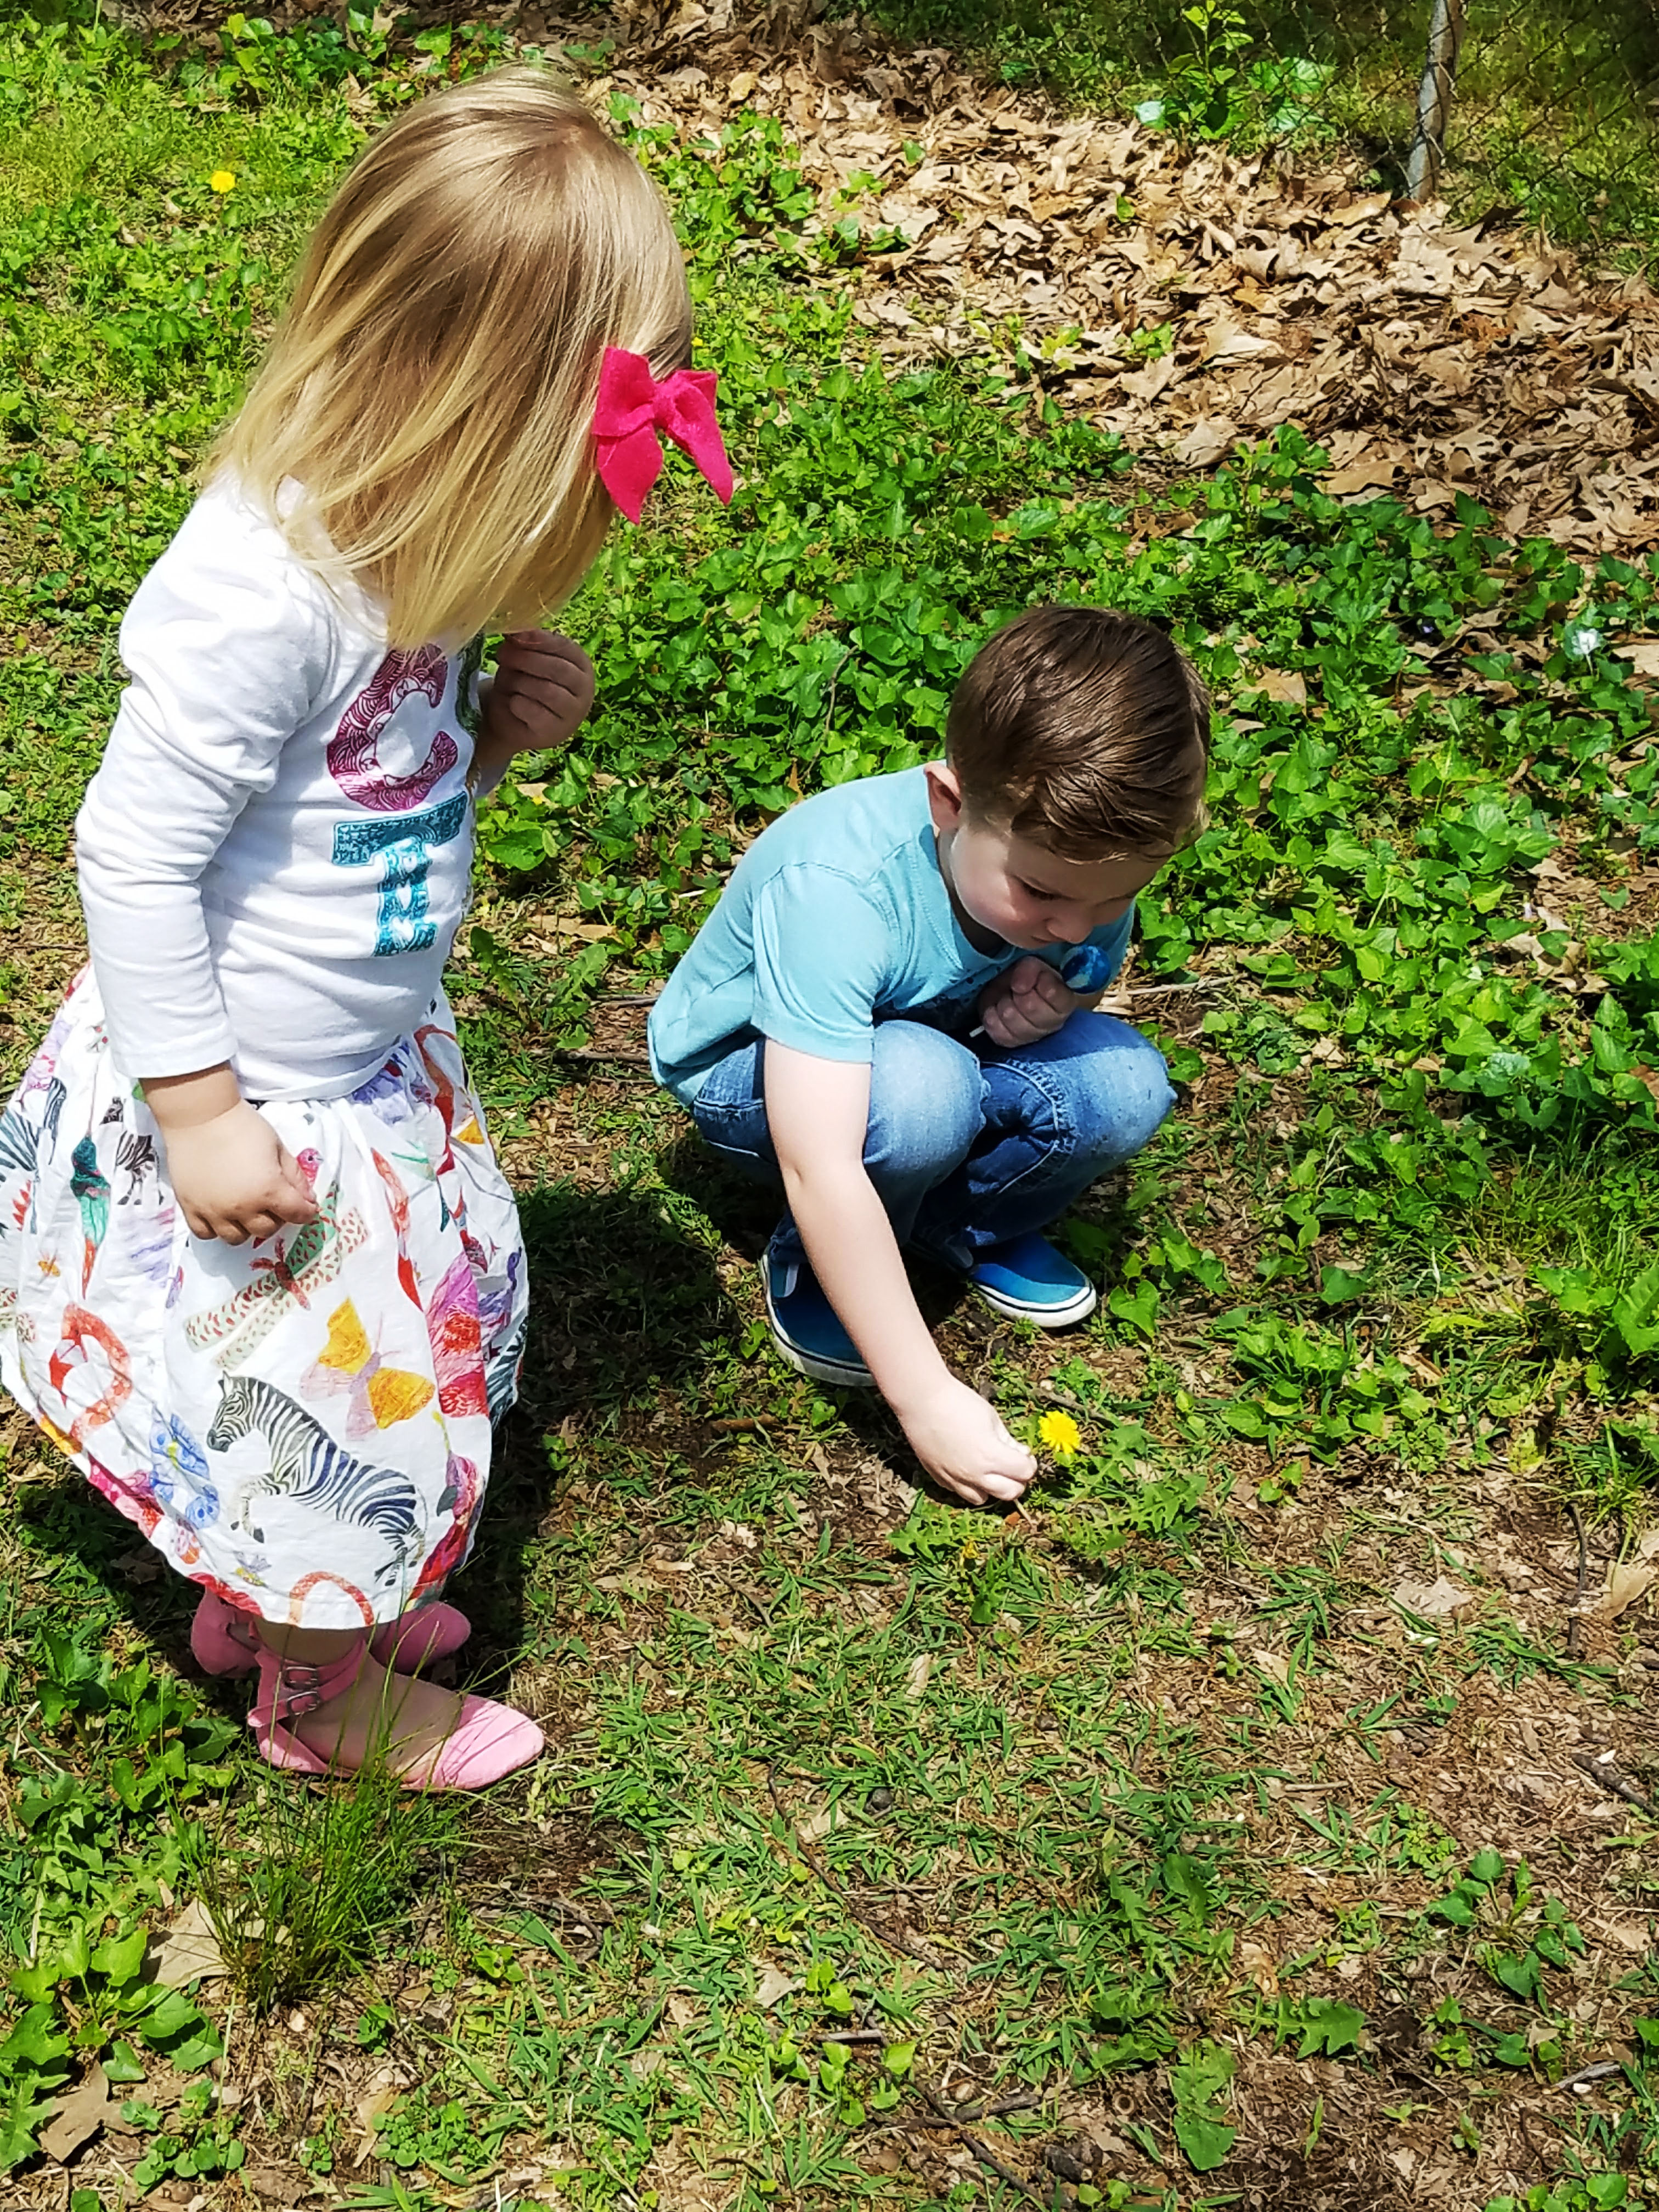
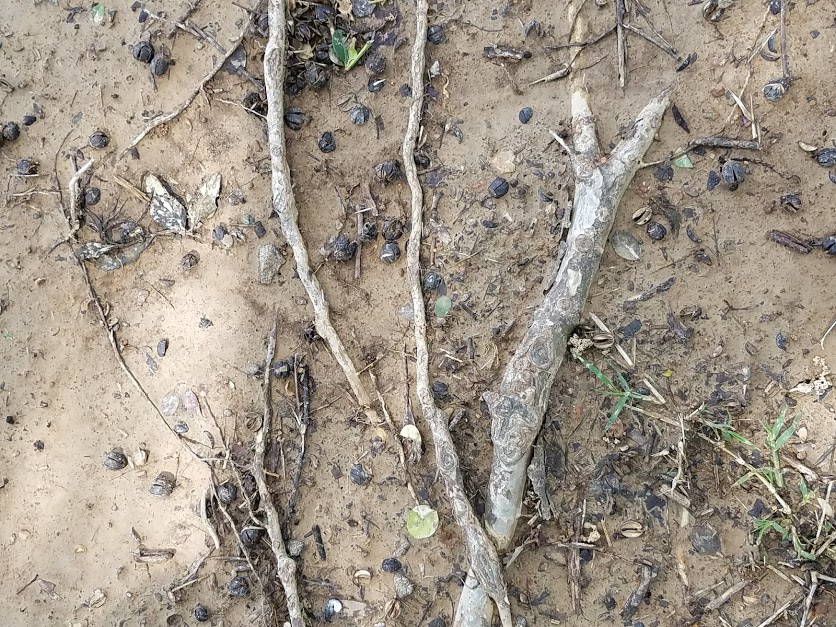
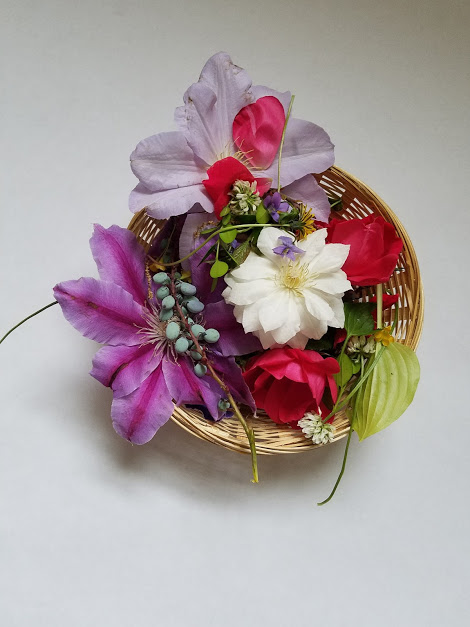
I feel pretty blessed to have purchased a home that was previously owned by an avid gardener. We were able to collect a lot of fun plants and flowers in our own yard, but to make things more exciting, we took a little basket to a nearby park and had so much fun exploring all the previously unnoticed nooks and crannies of the park. The kids were noticing and more aware of their surroundings than normal and it was so fun for me to see them get so excited over every bug, leaf, bird, flower, and little animal mud trail.
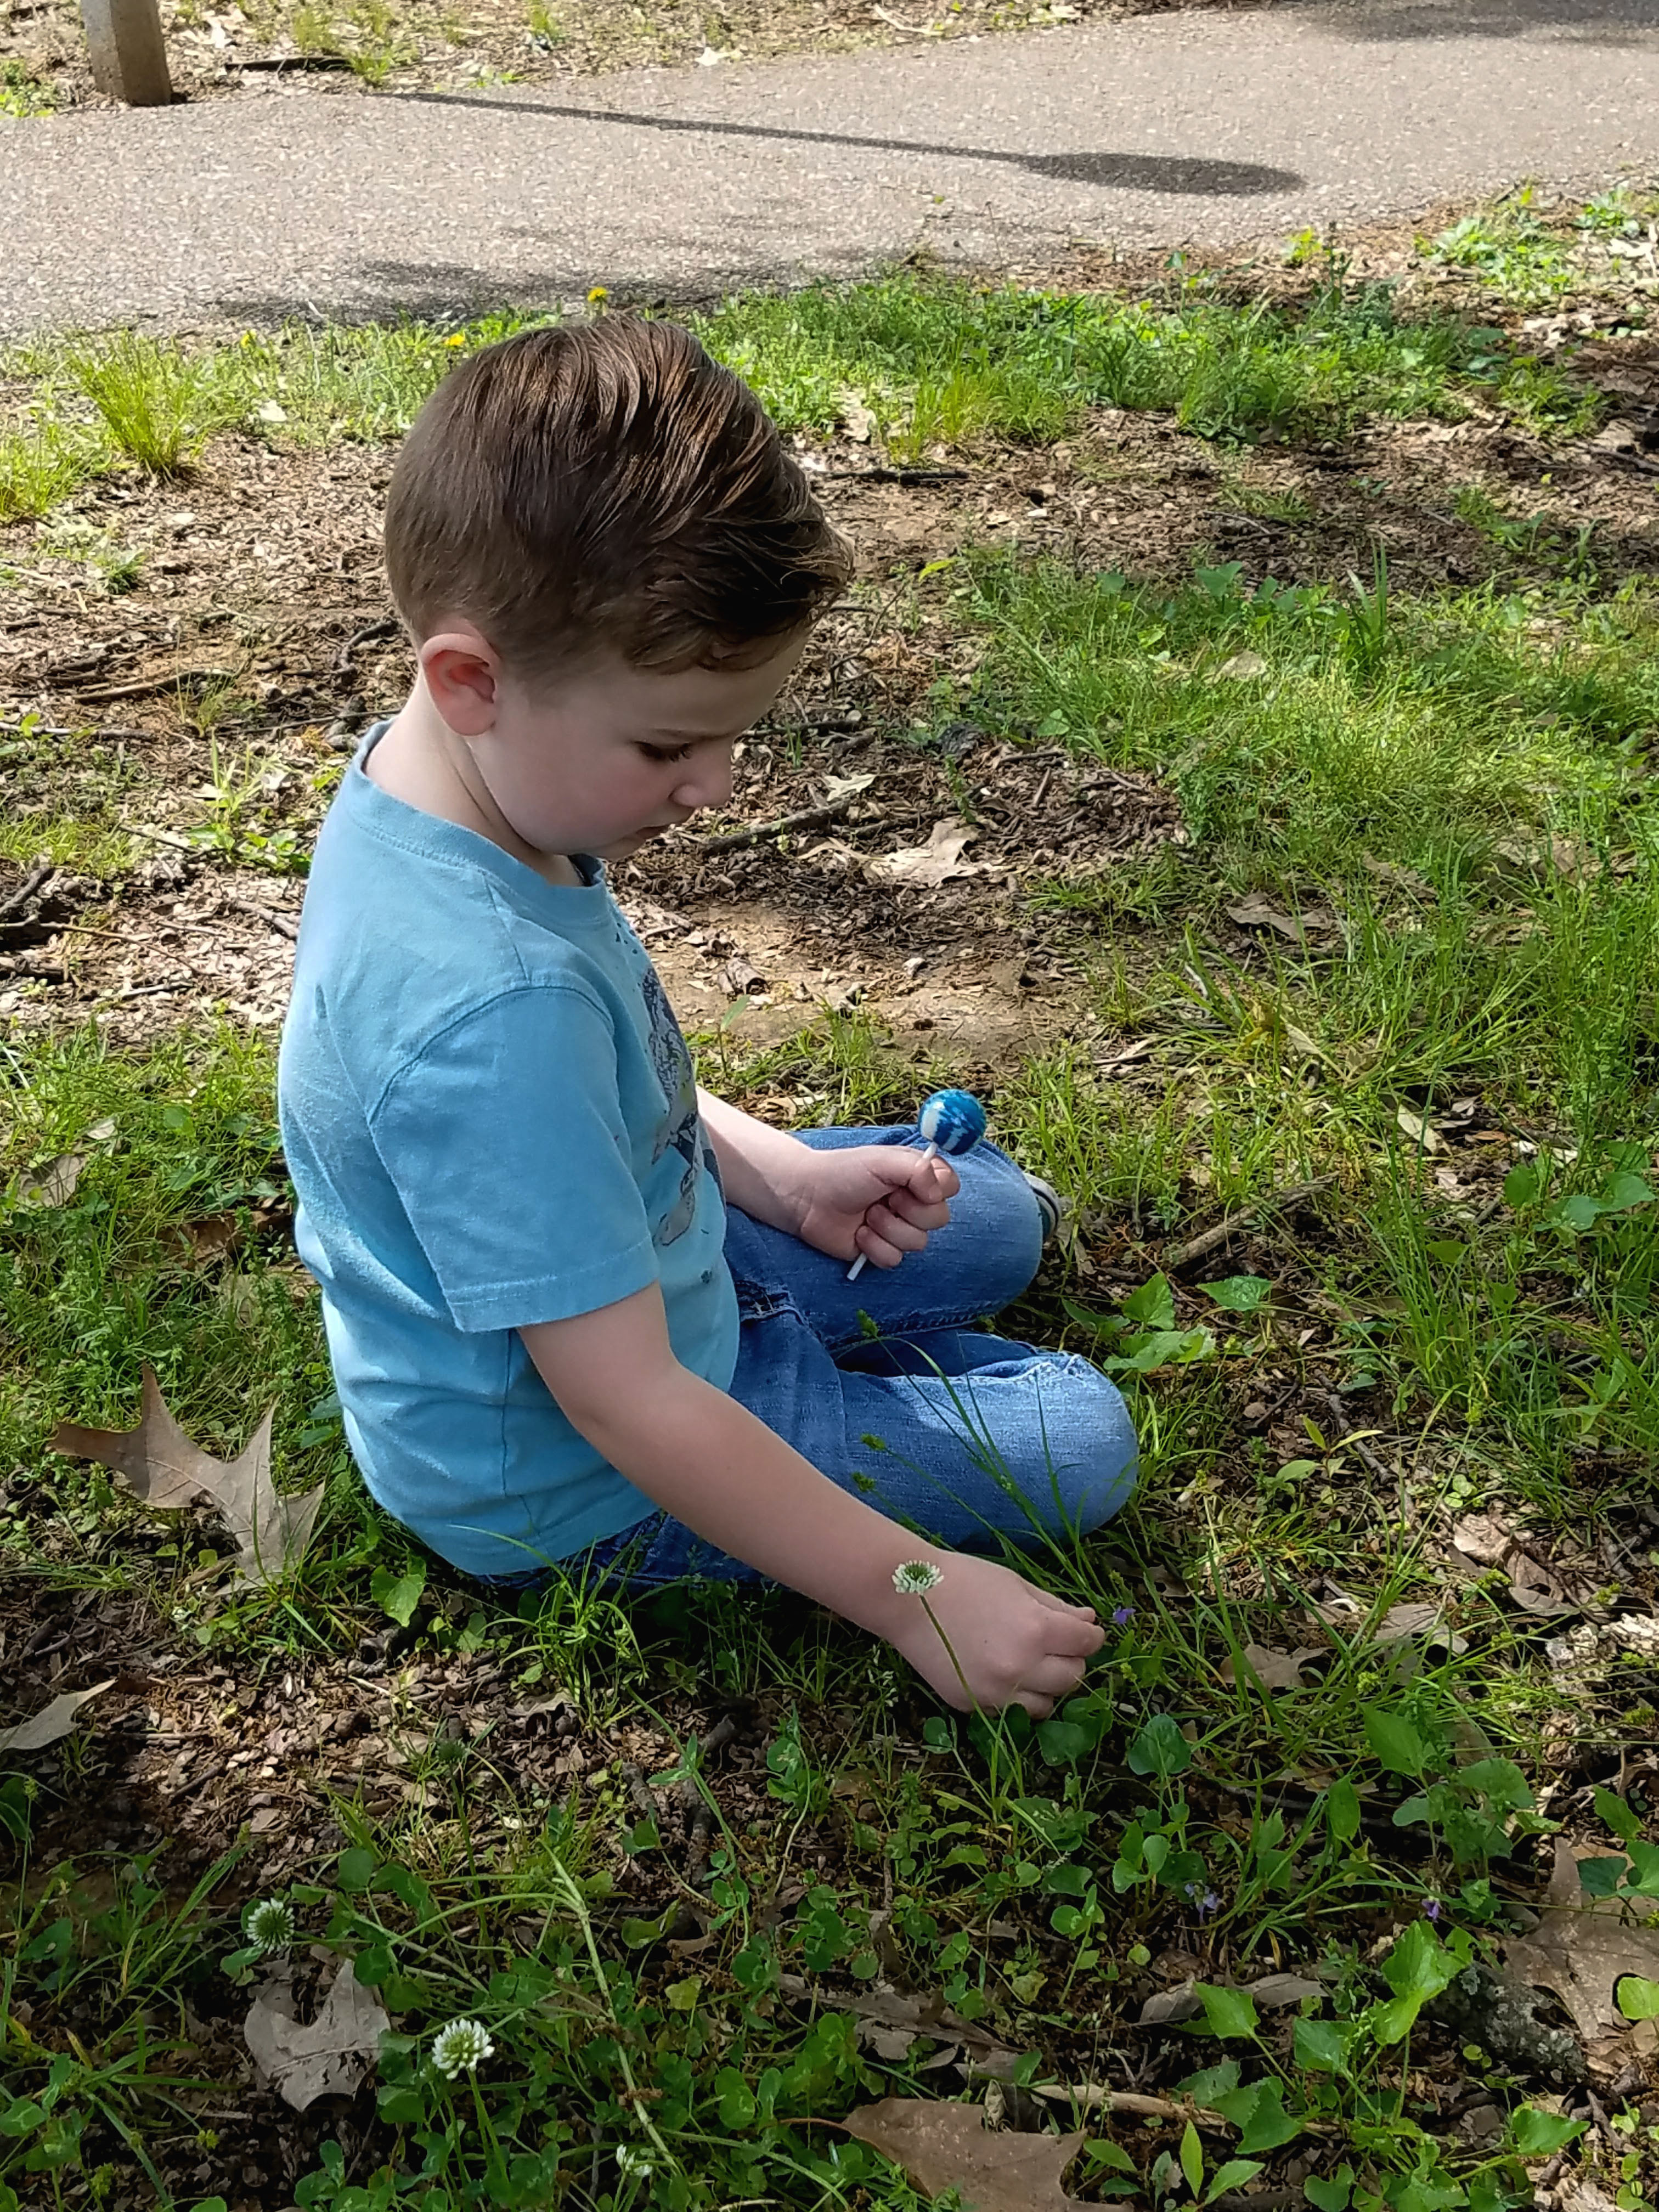
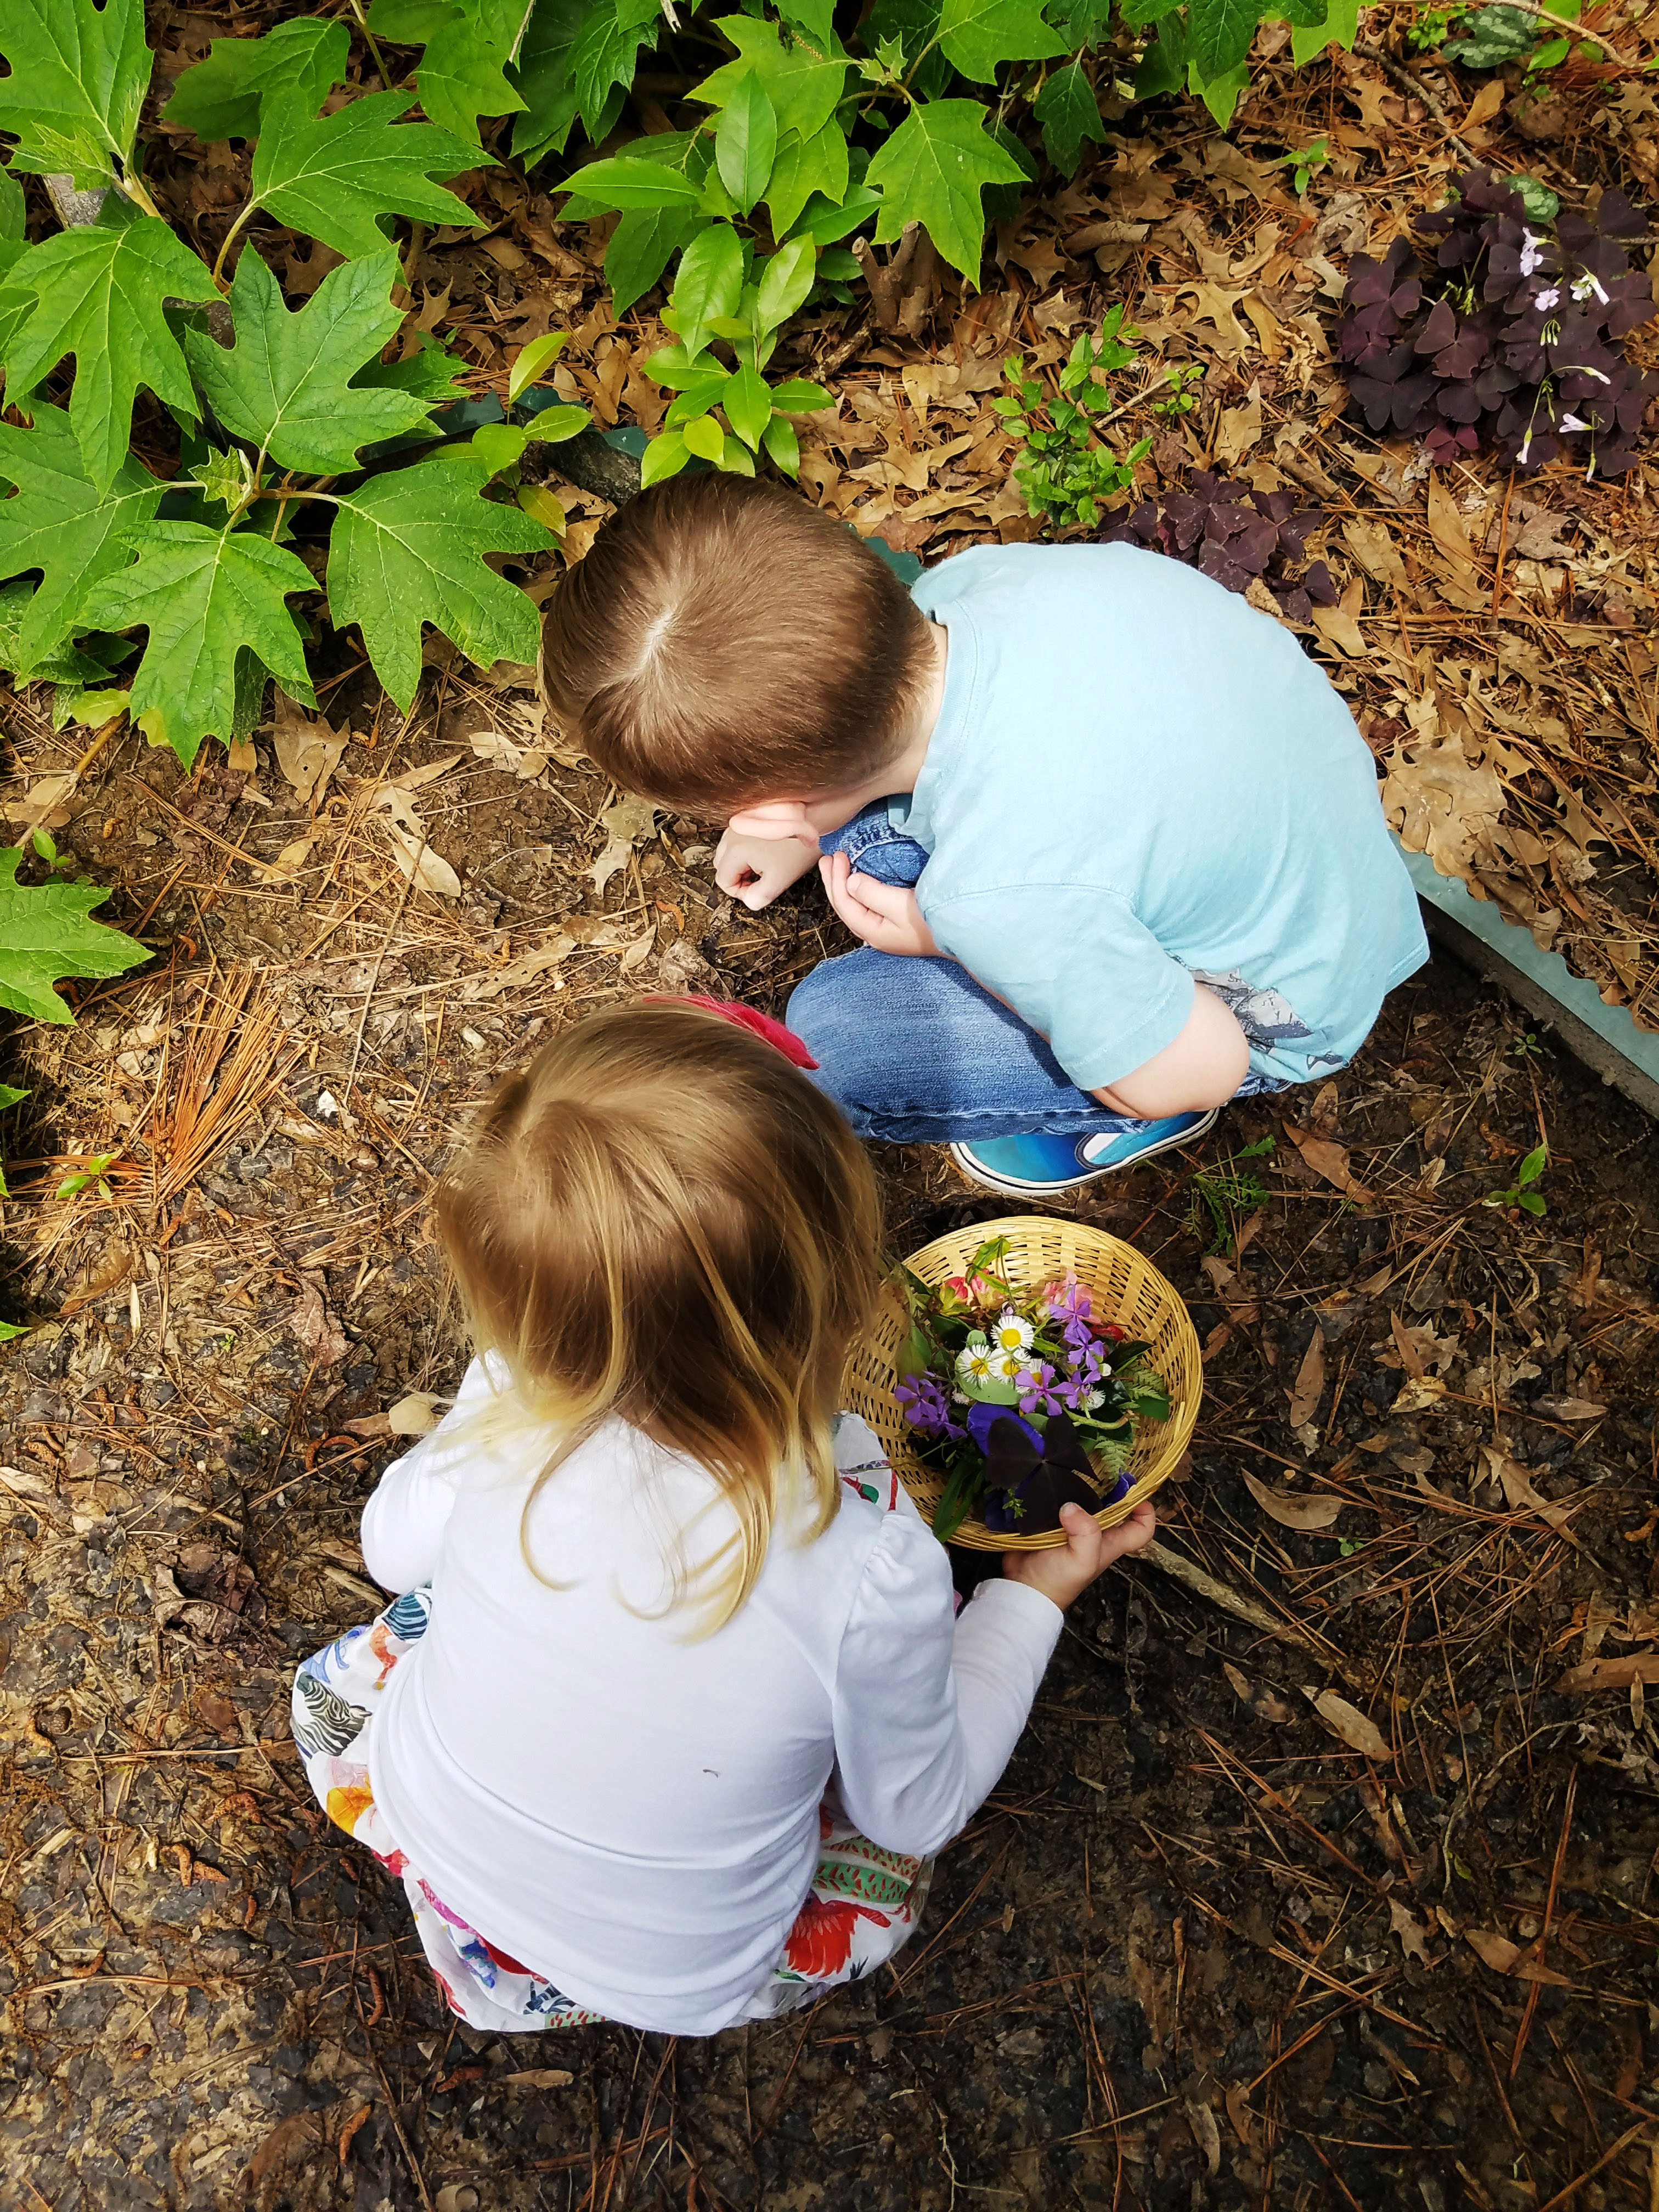
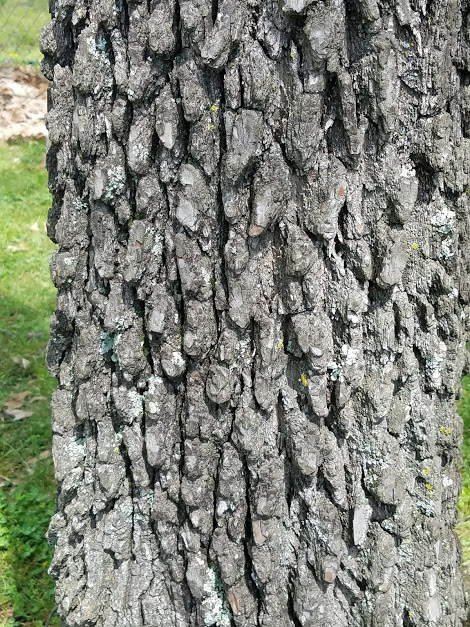
Growing up, I spent so much time playing outdoors with friends and cousins. Summers were filled up with building forts of every kind, sitting in the shade and looking for butterflies, picking beautiful flowers, and creating fairy gardens every place I could. We spent a lot of time camping and adventuring in the mountains, which developed a great love for nature and all its wonderful, magical gifts. I have really wanted to instill this love of nature in my children, which is why these kinds of activities are such joy for me.
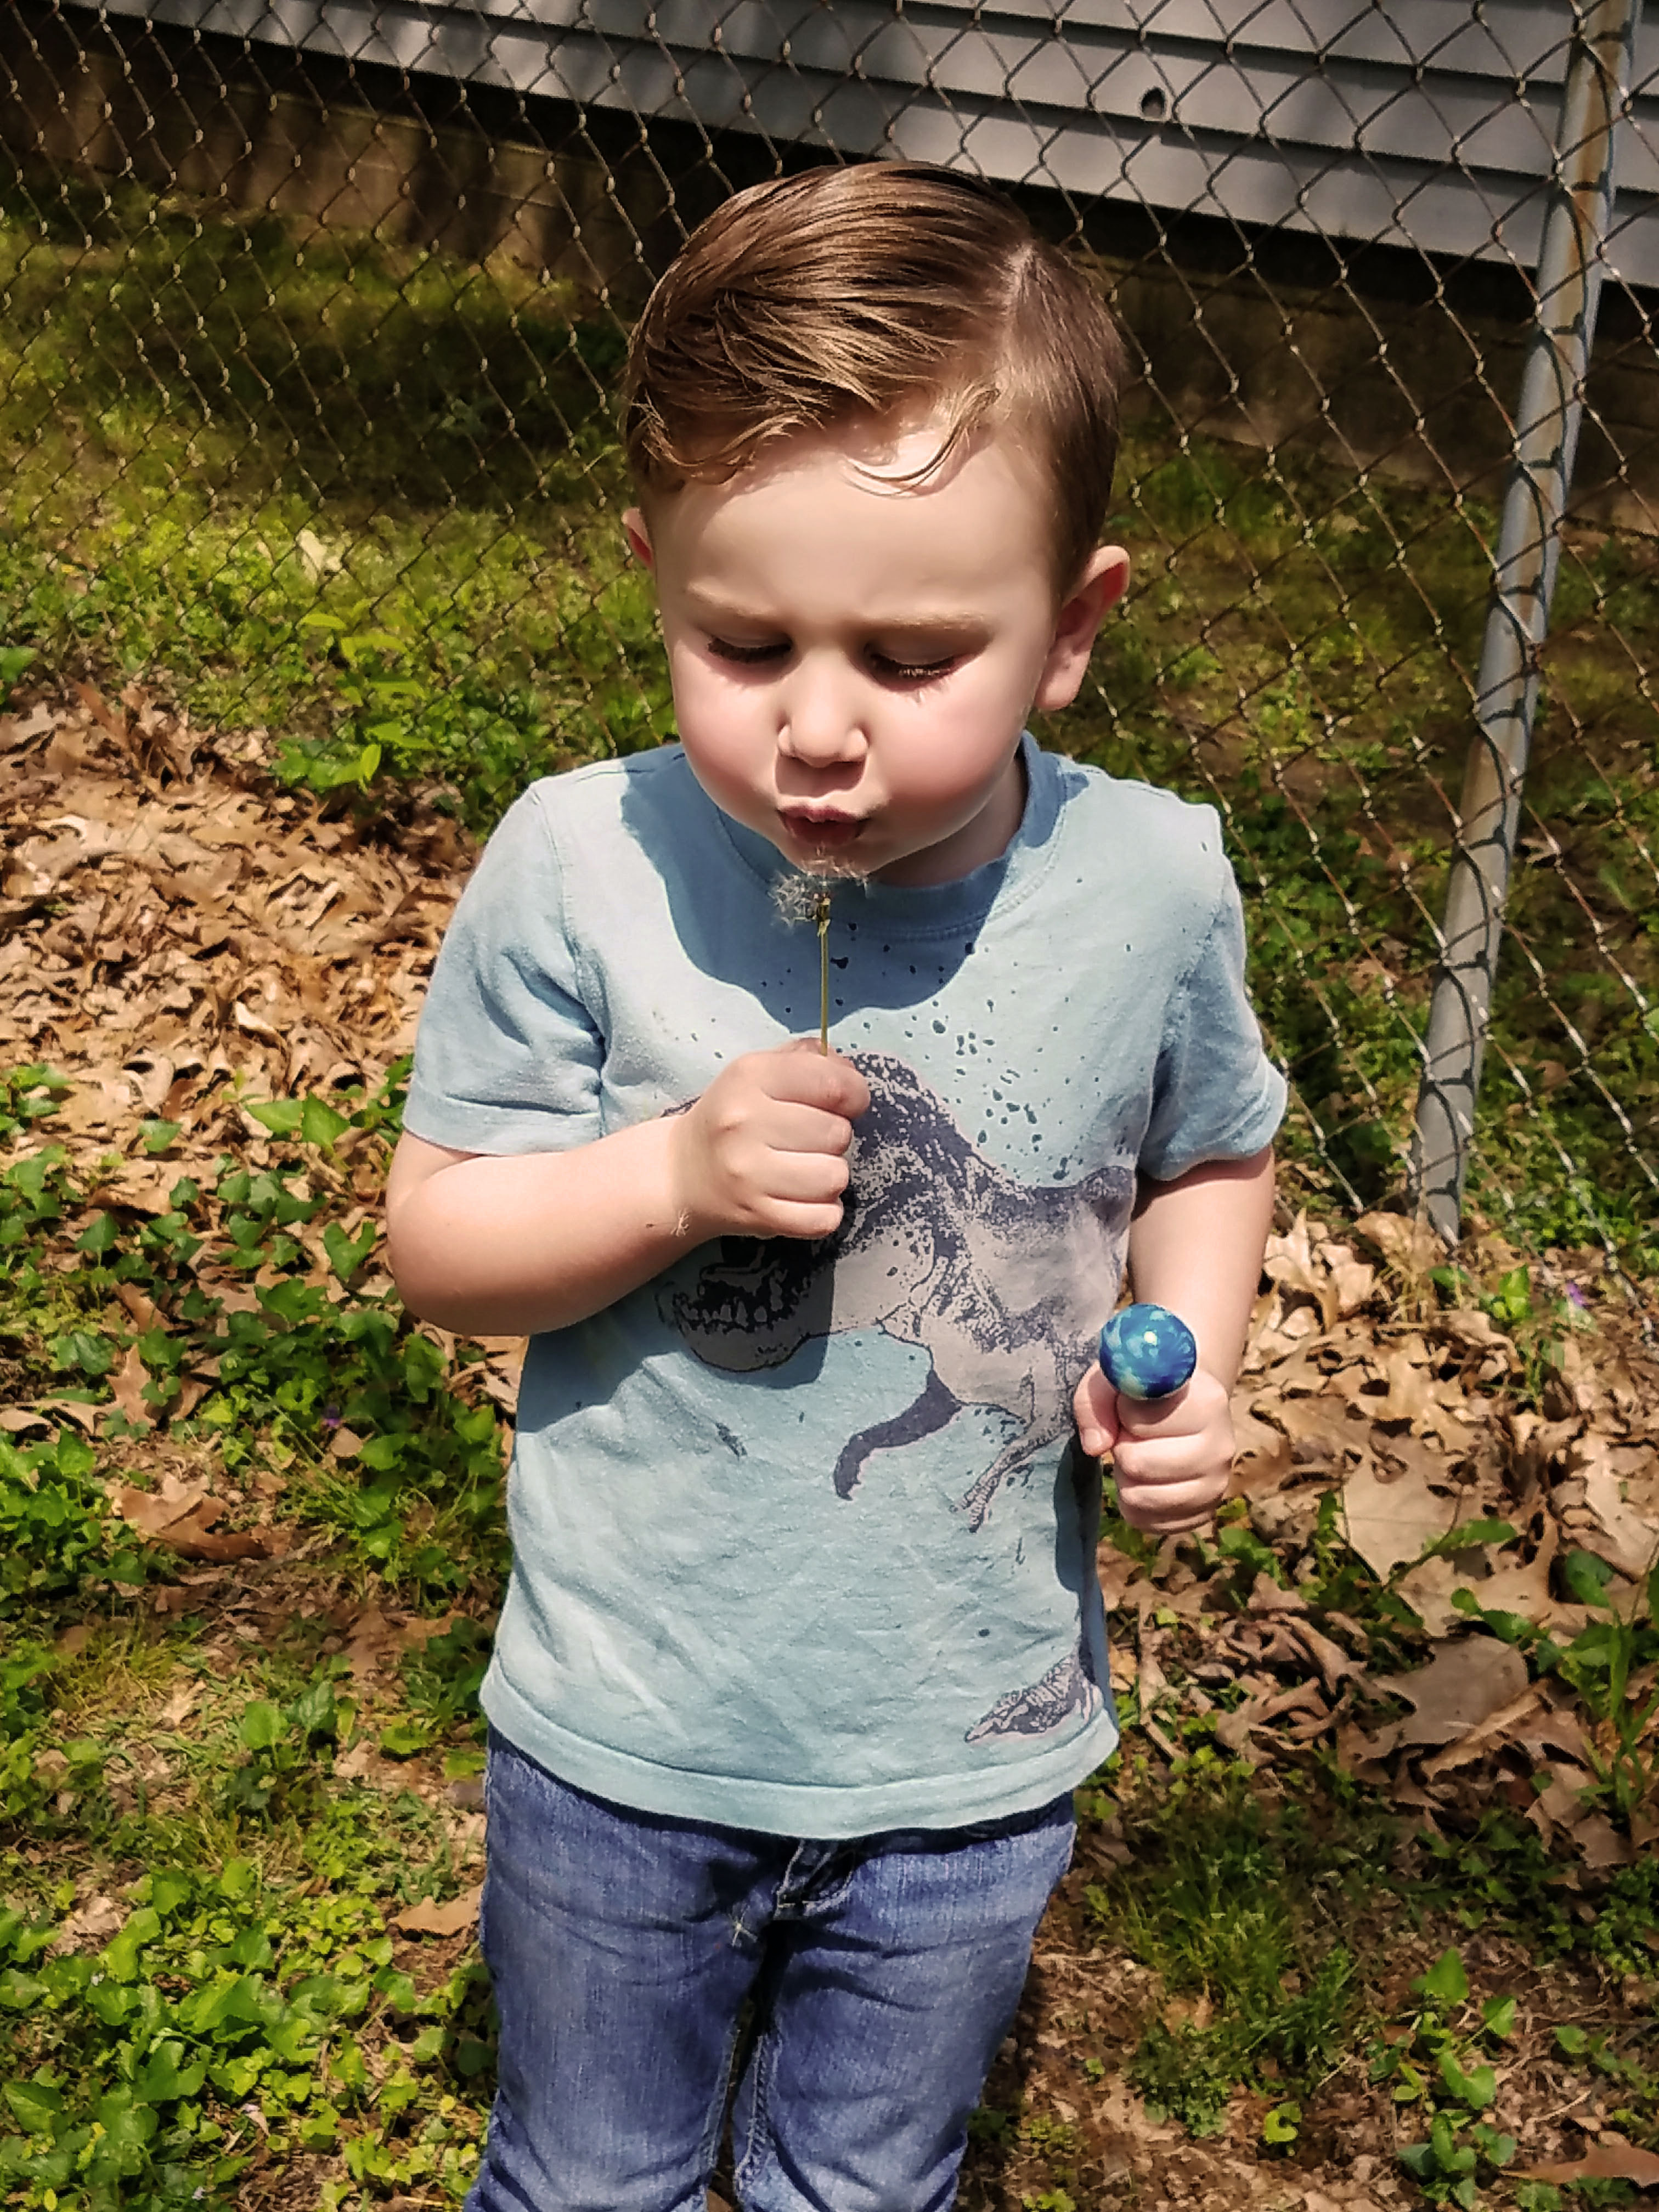
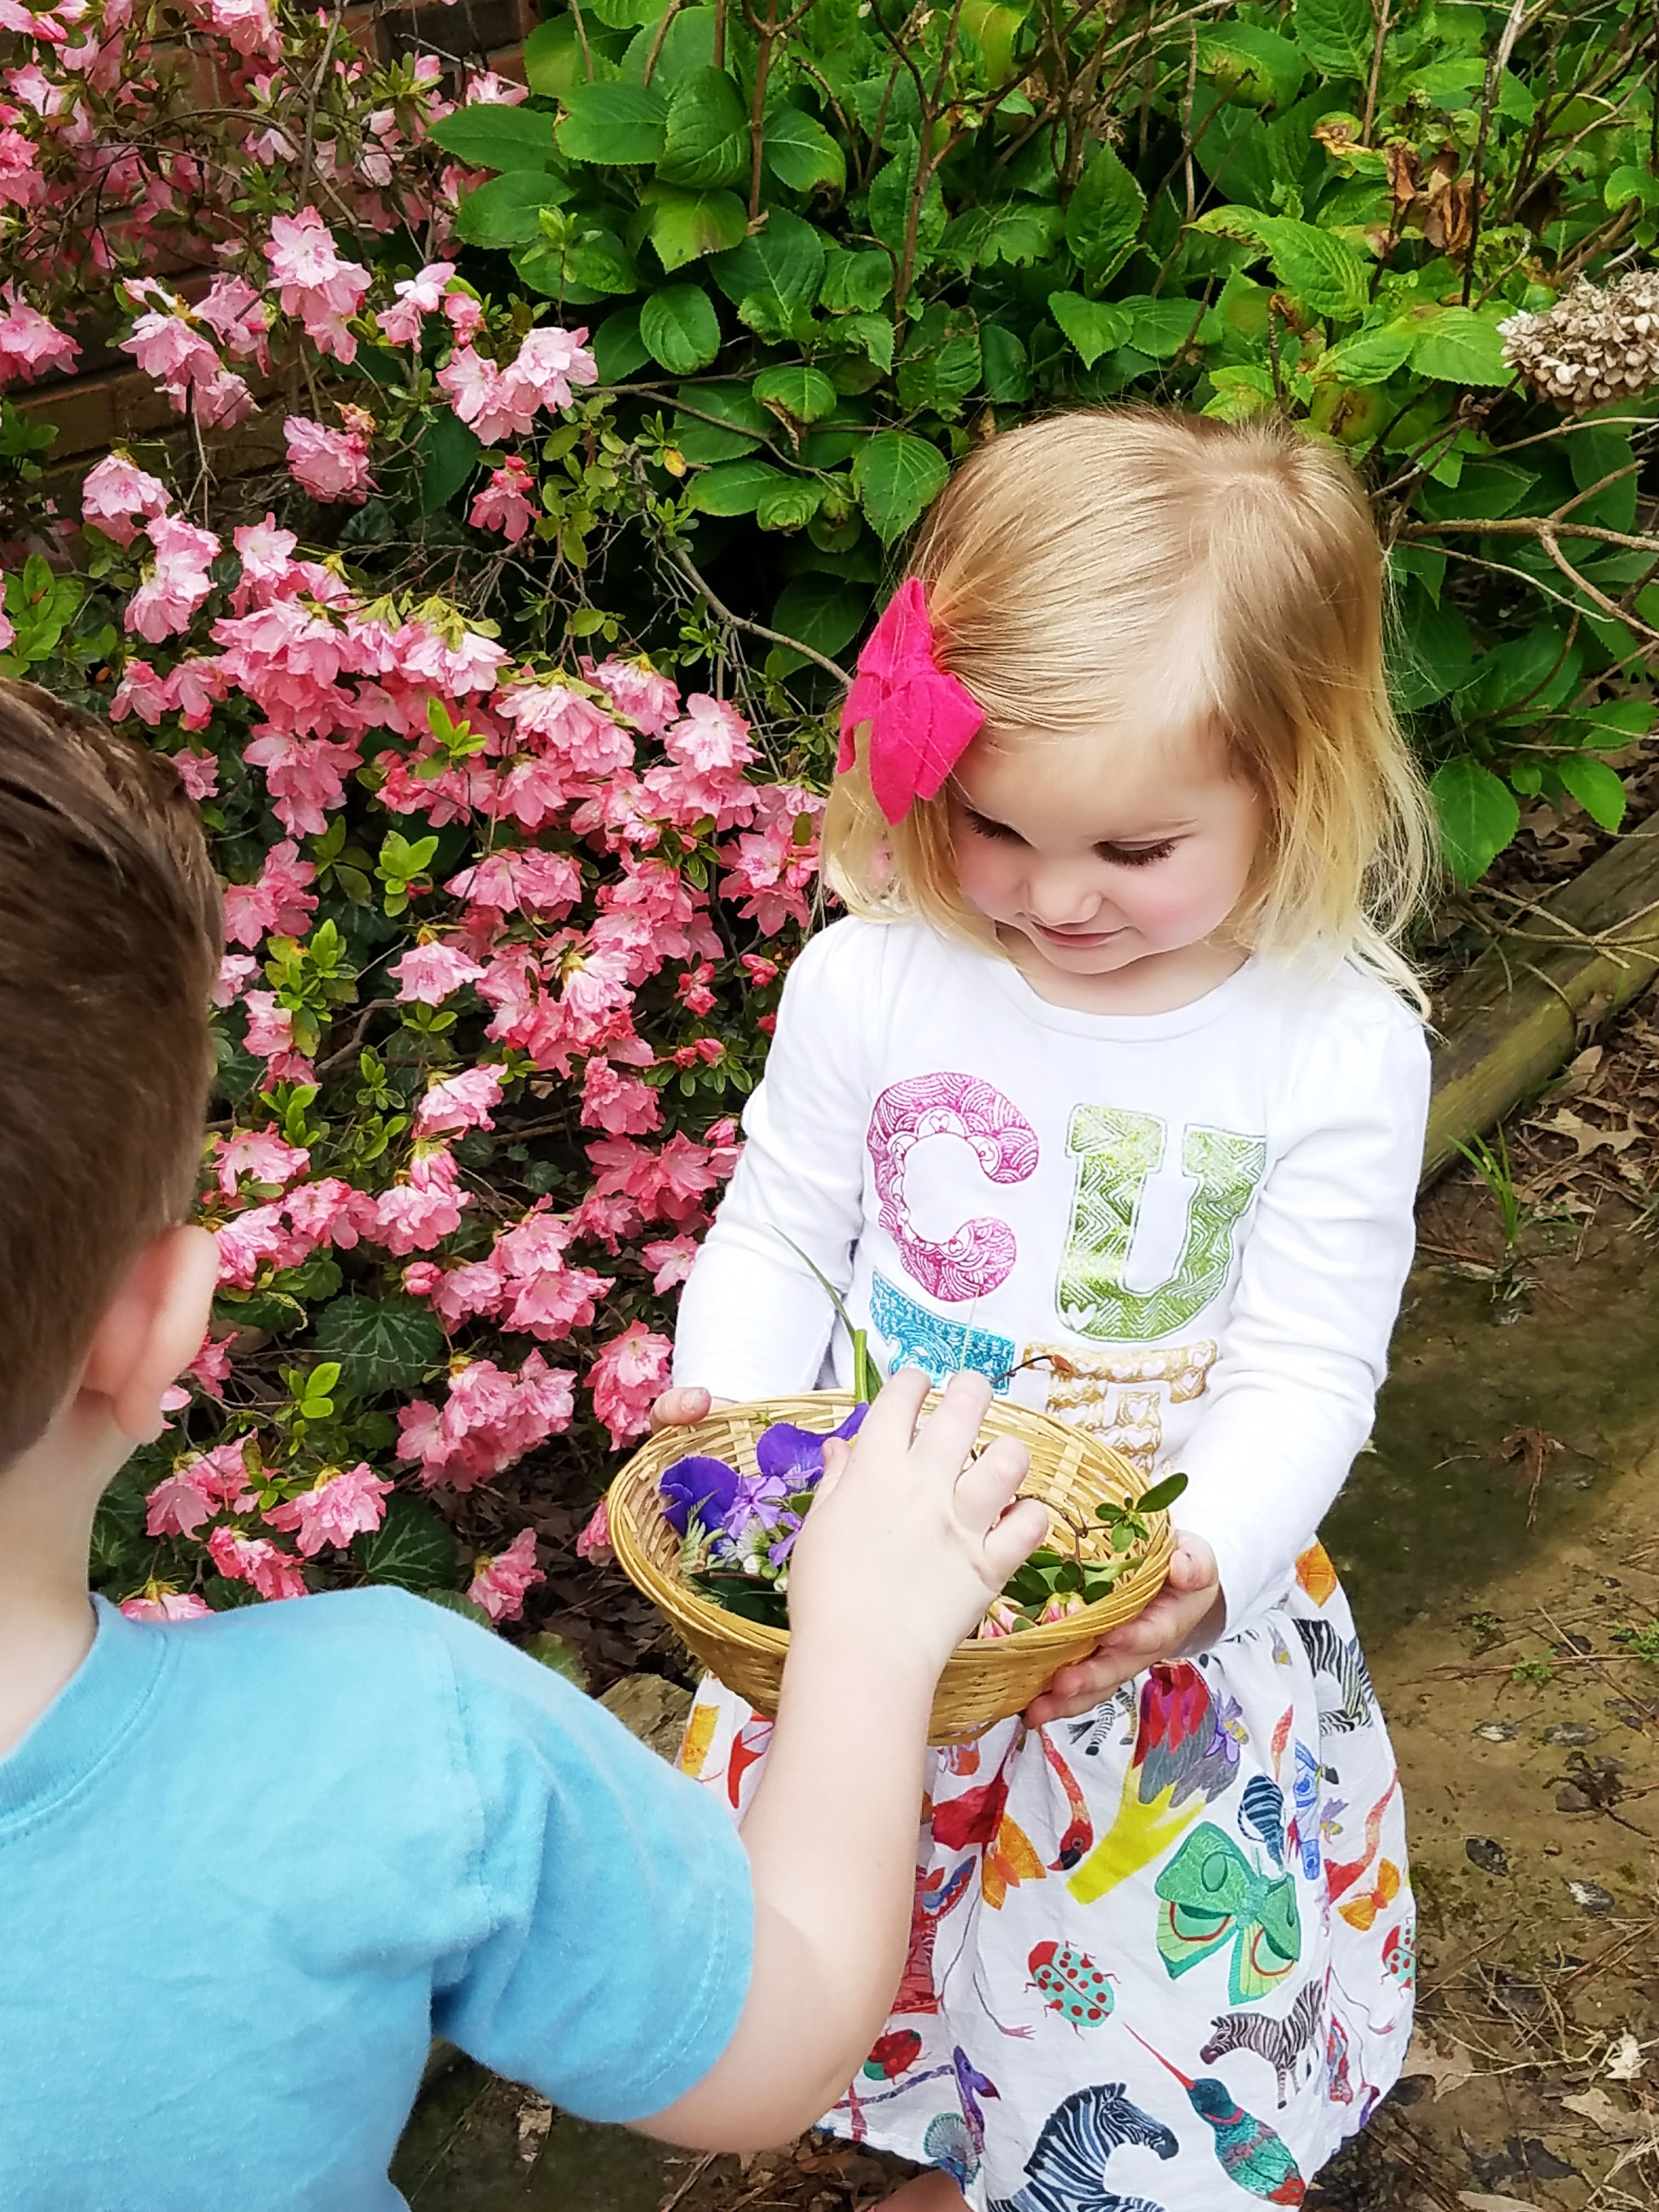
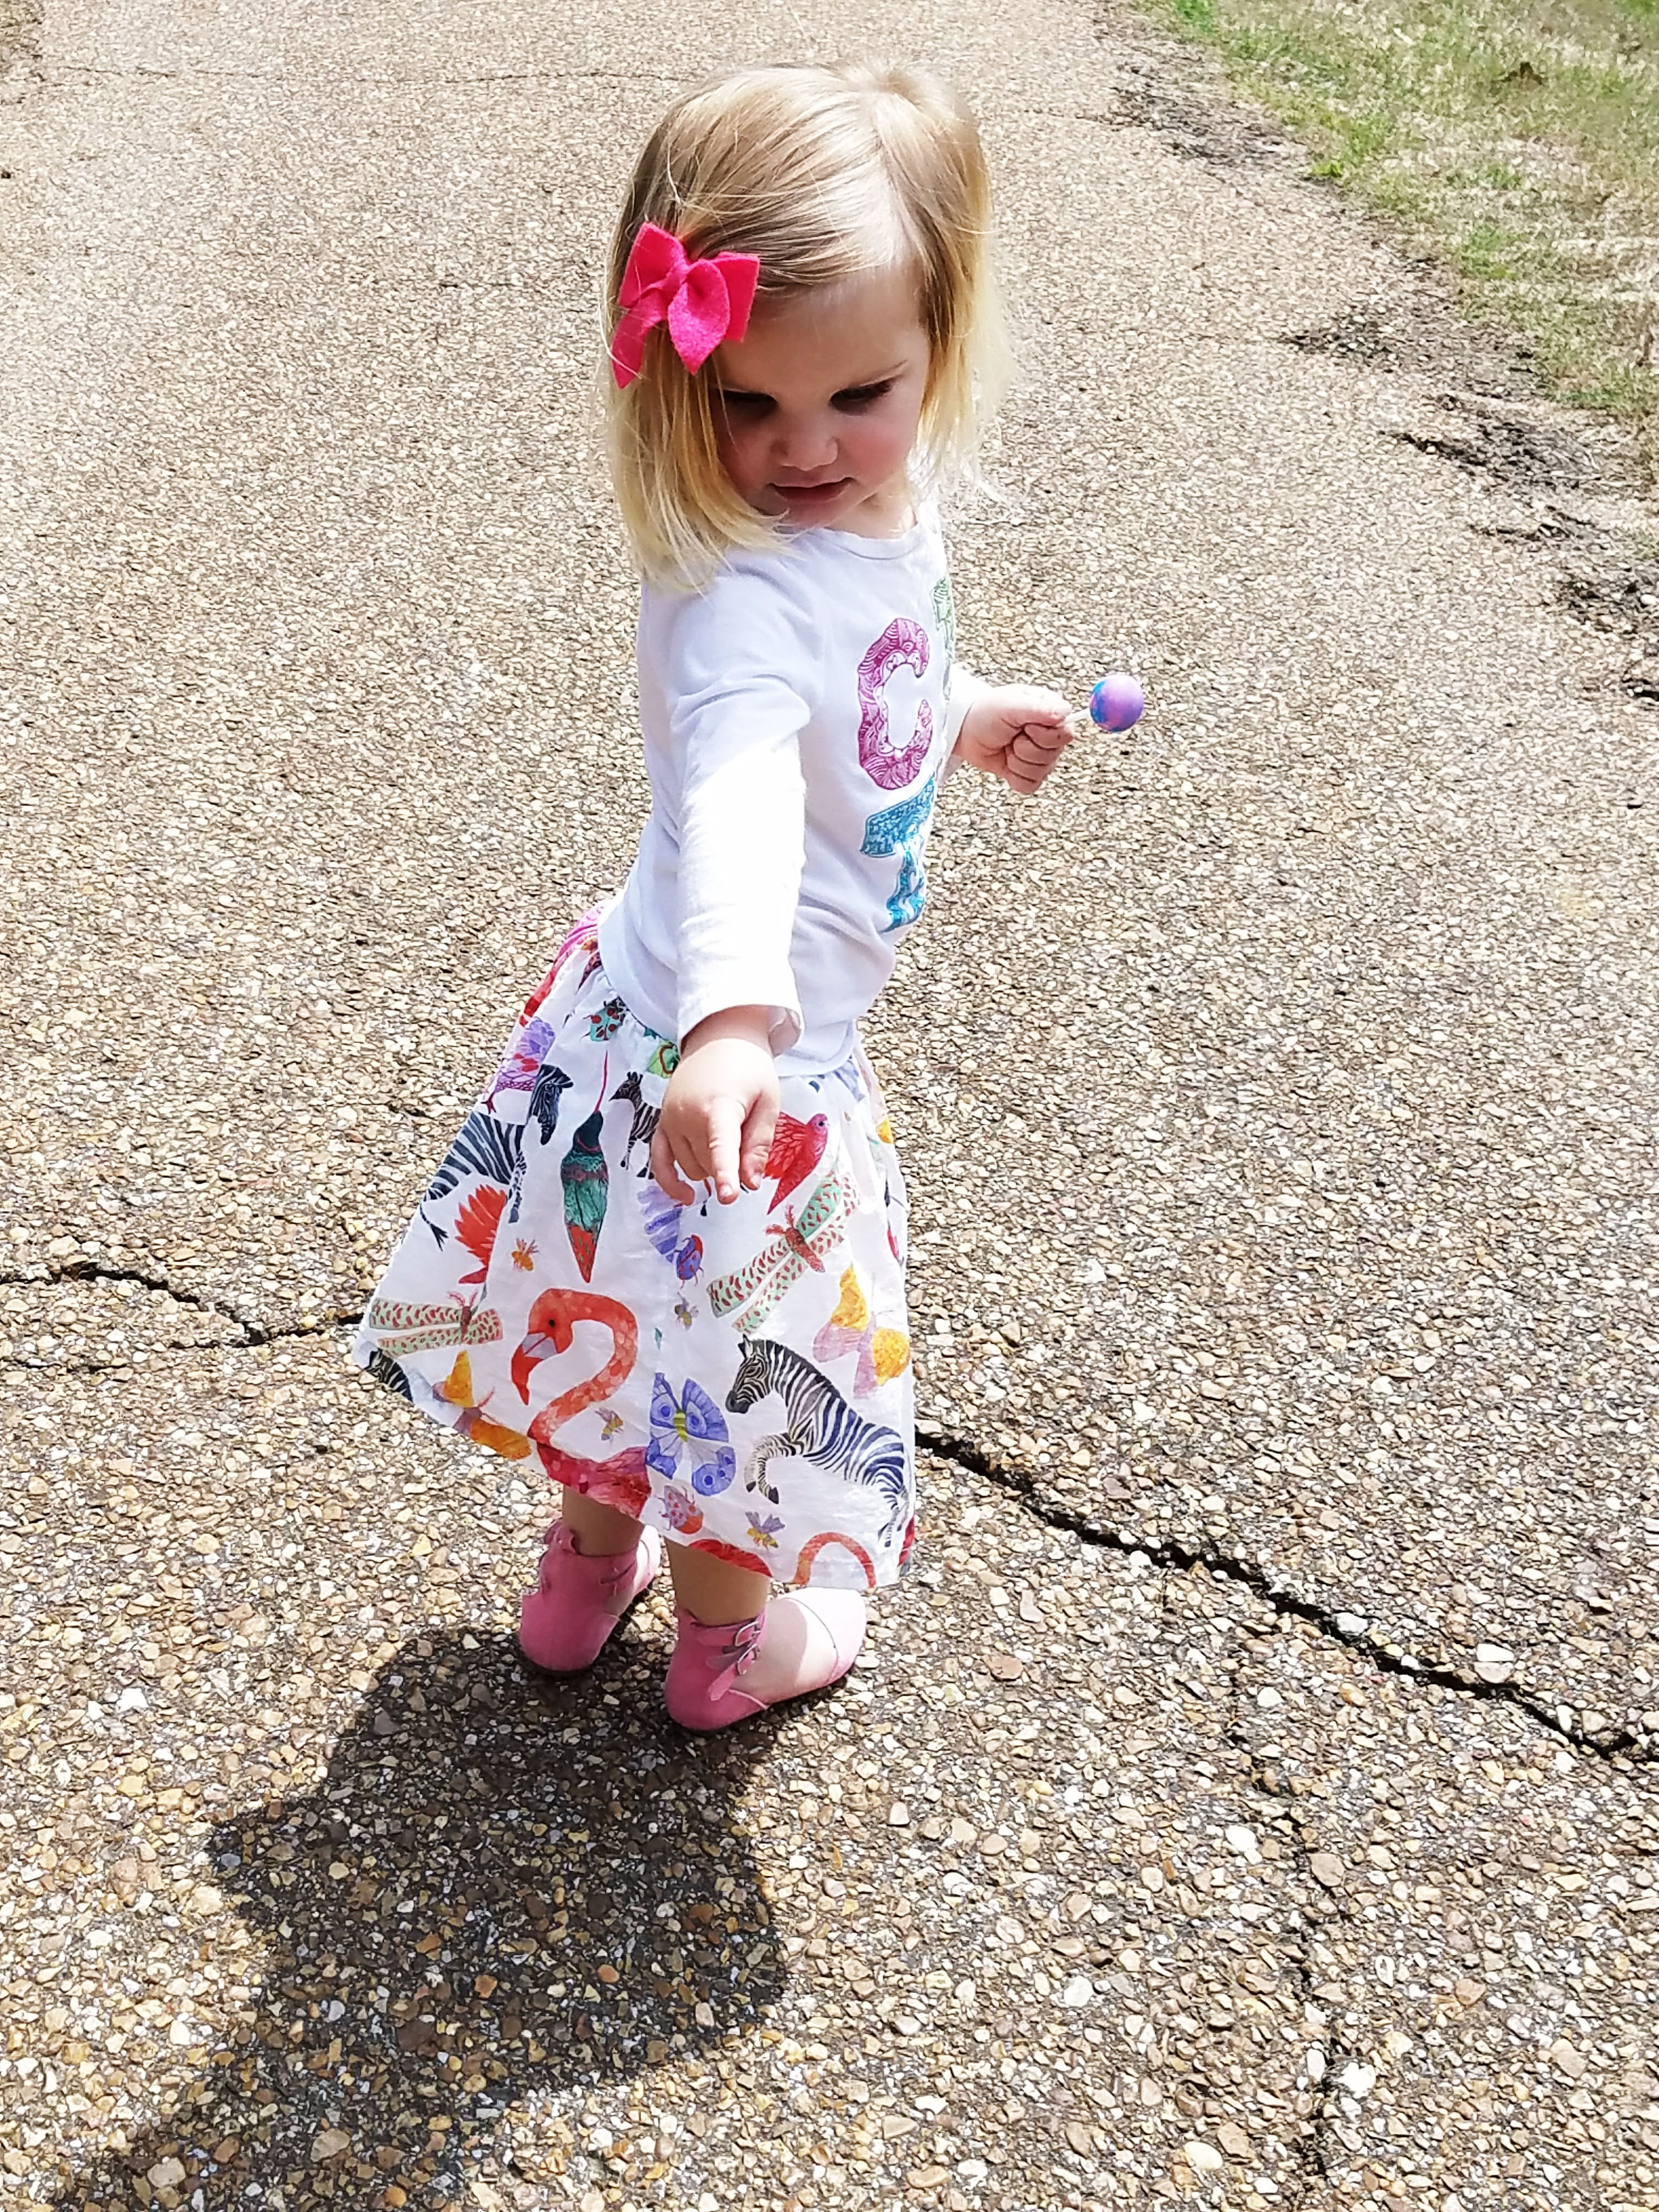
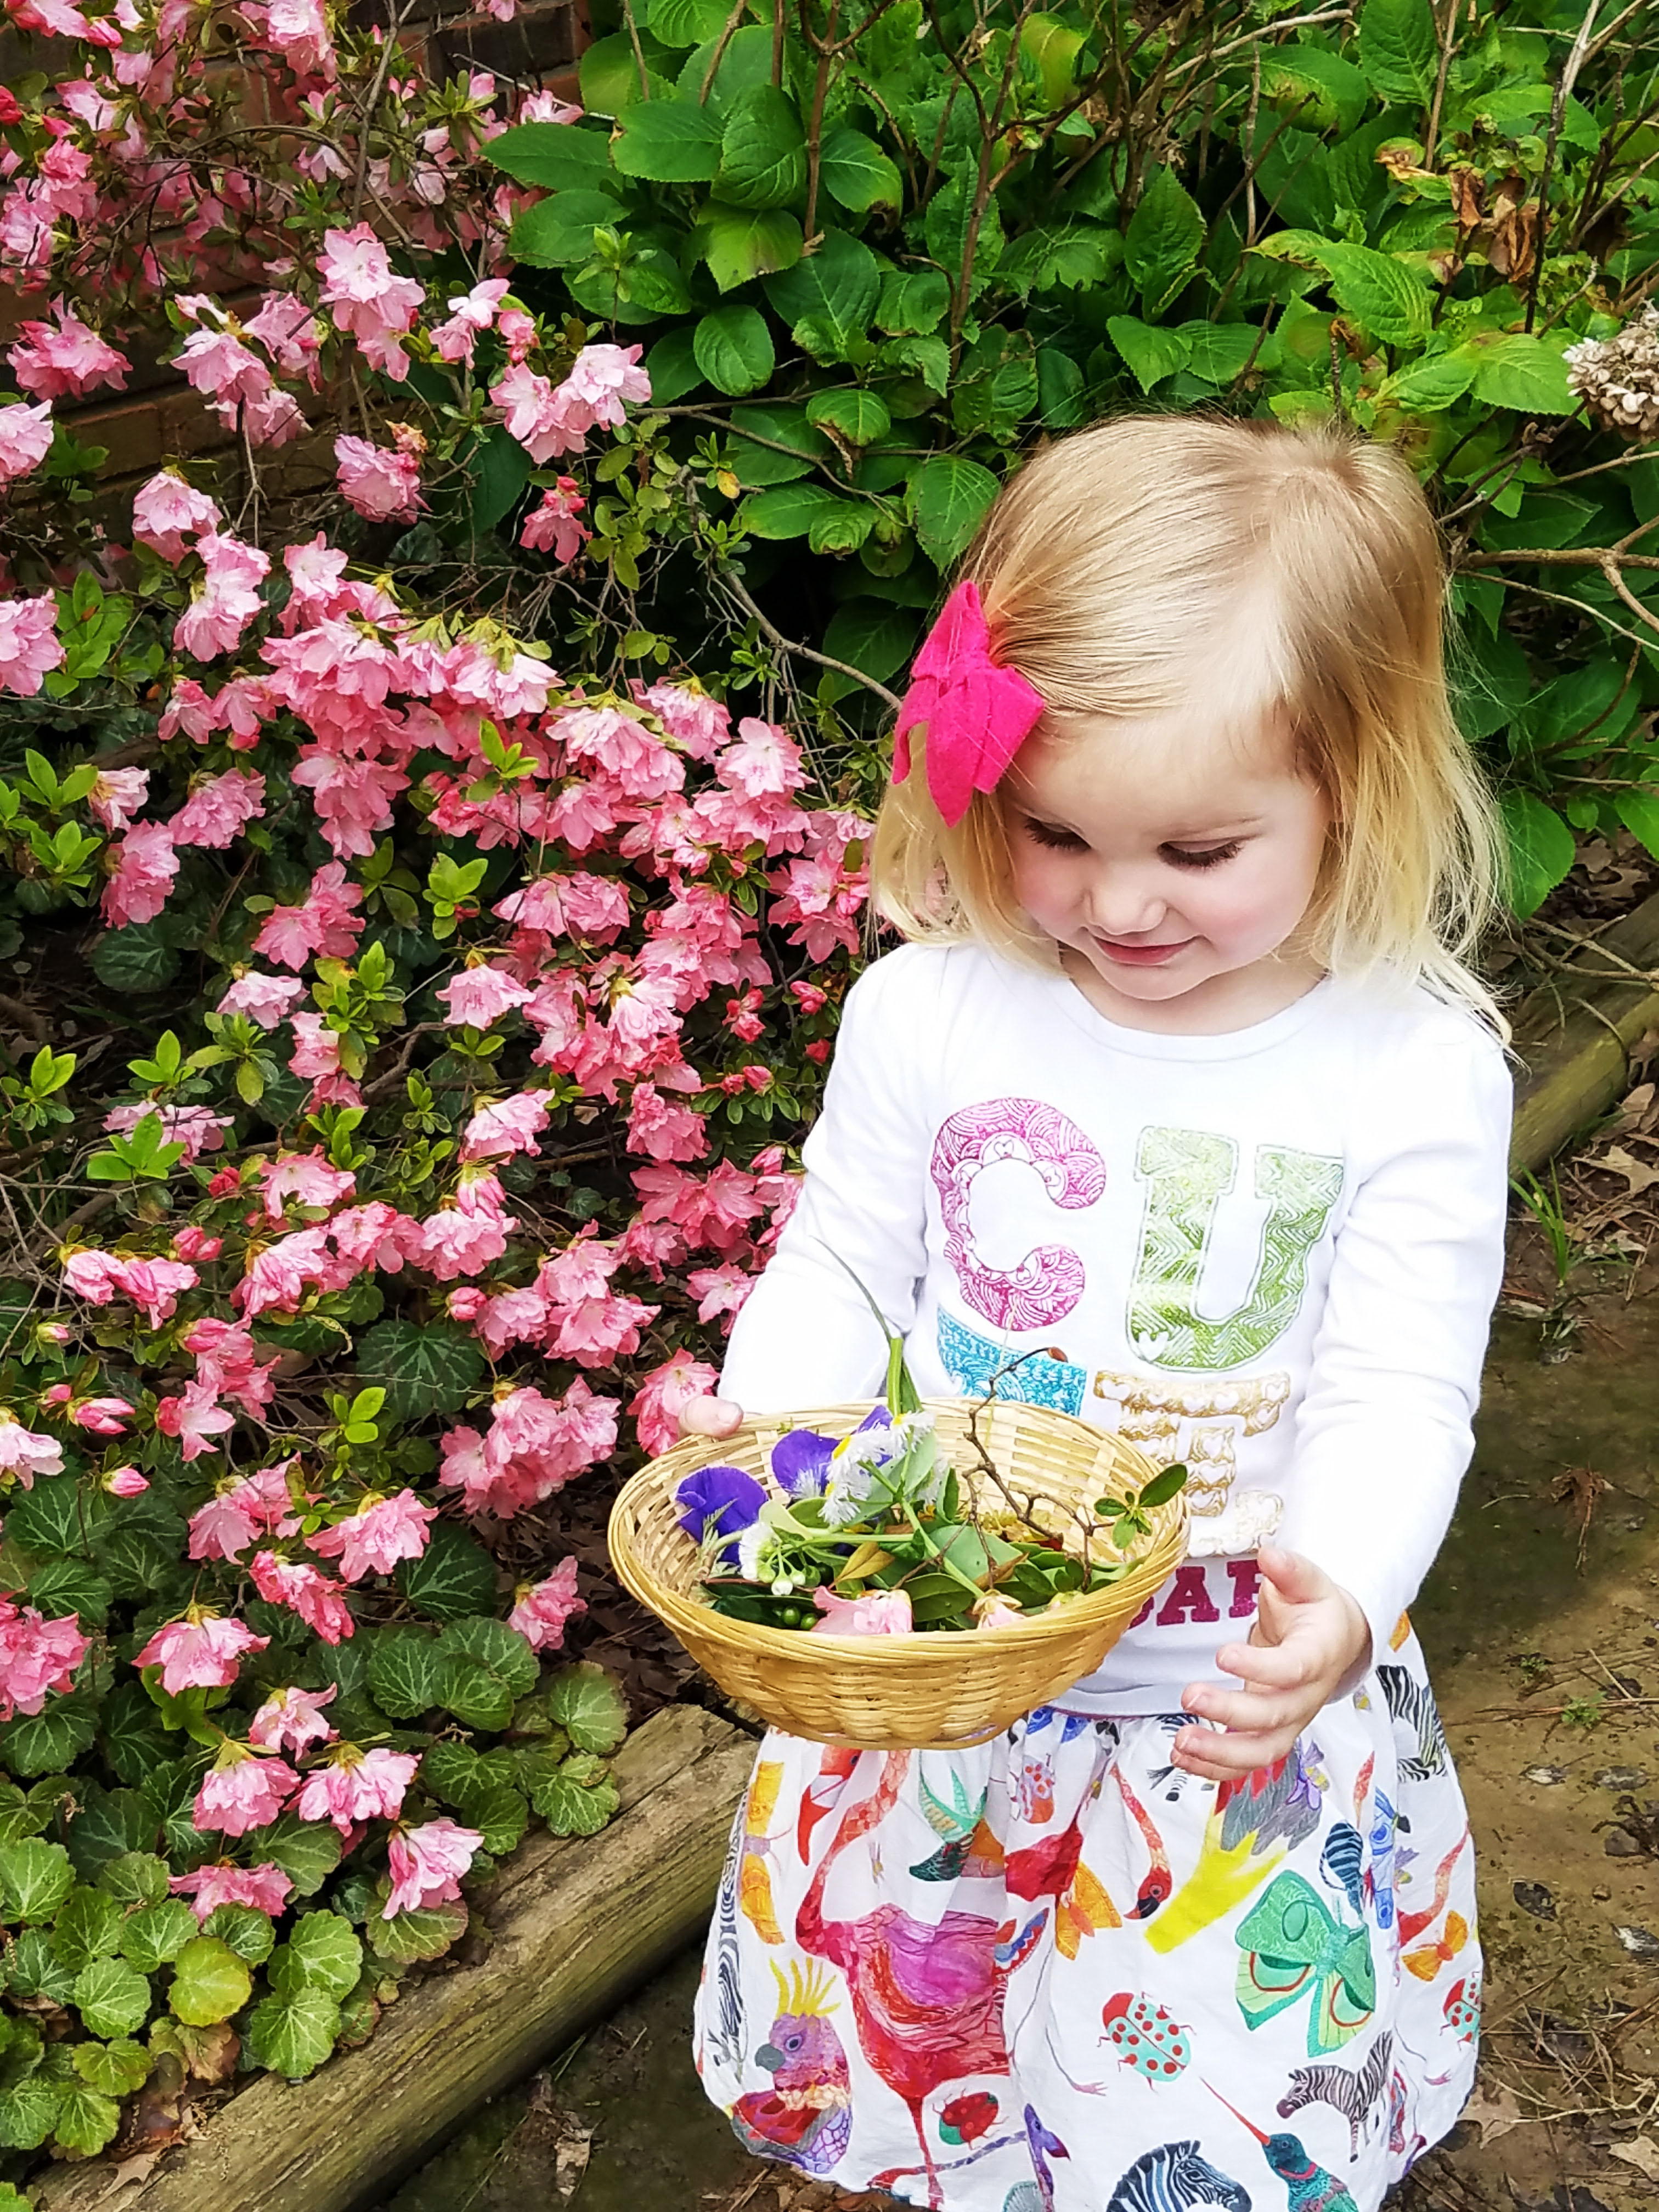
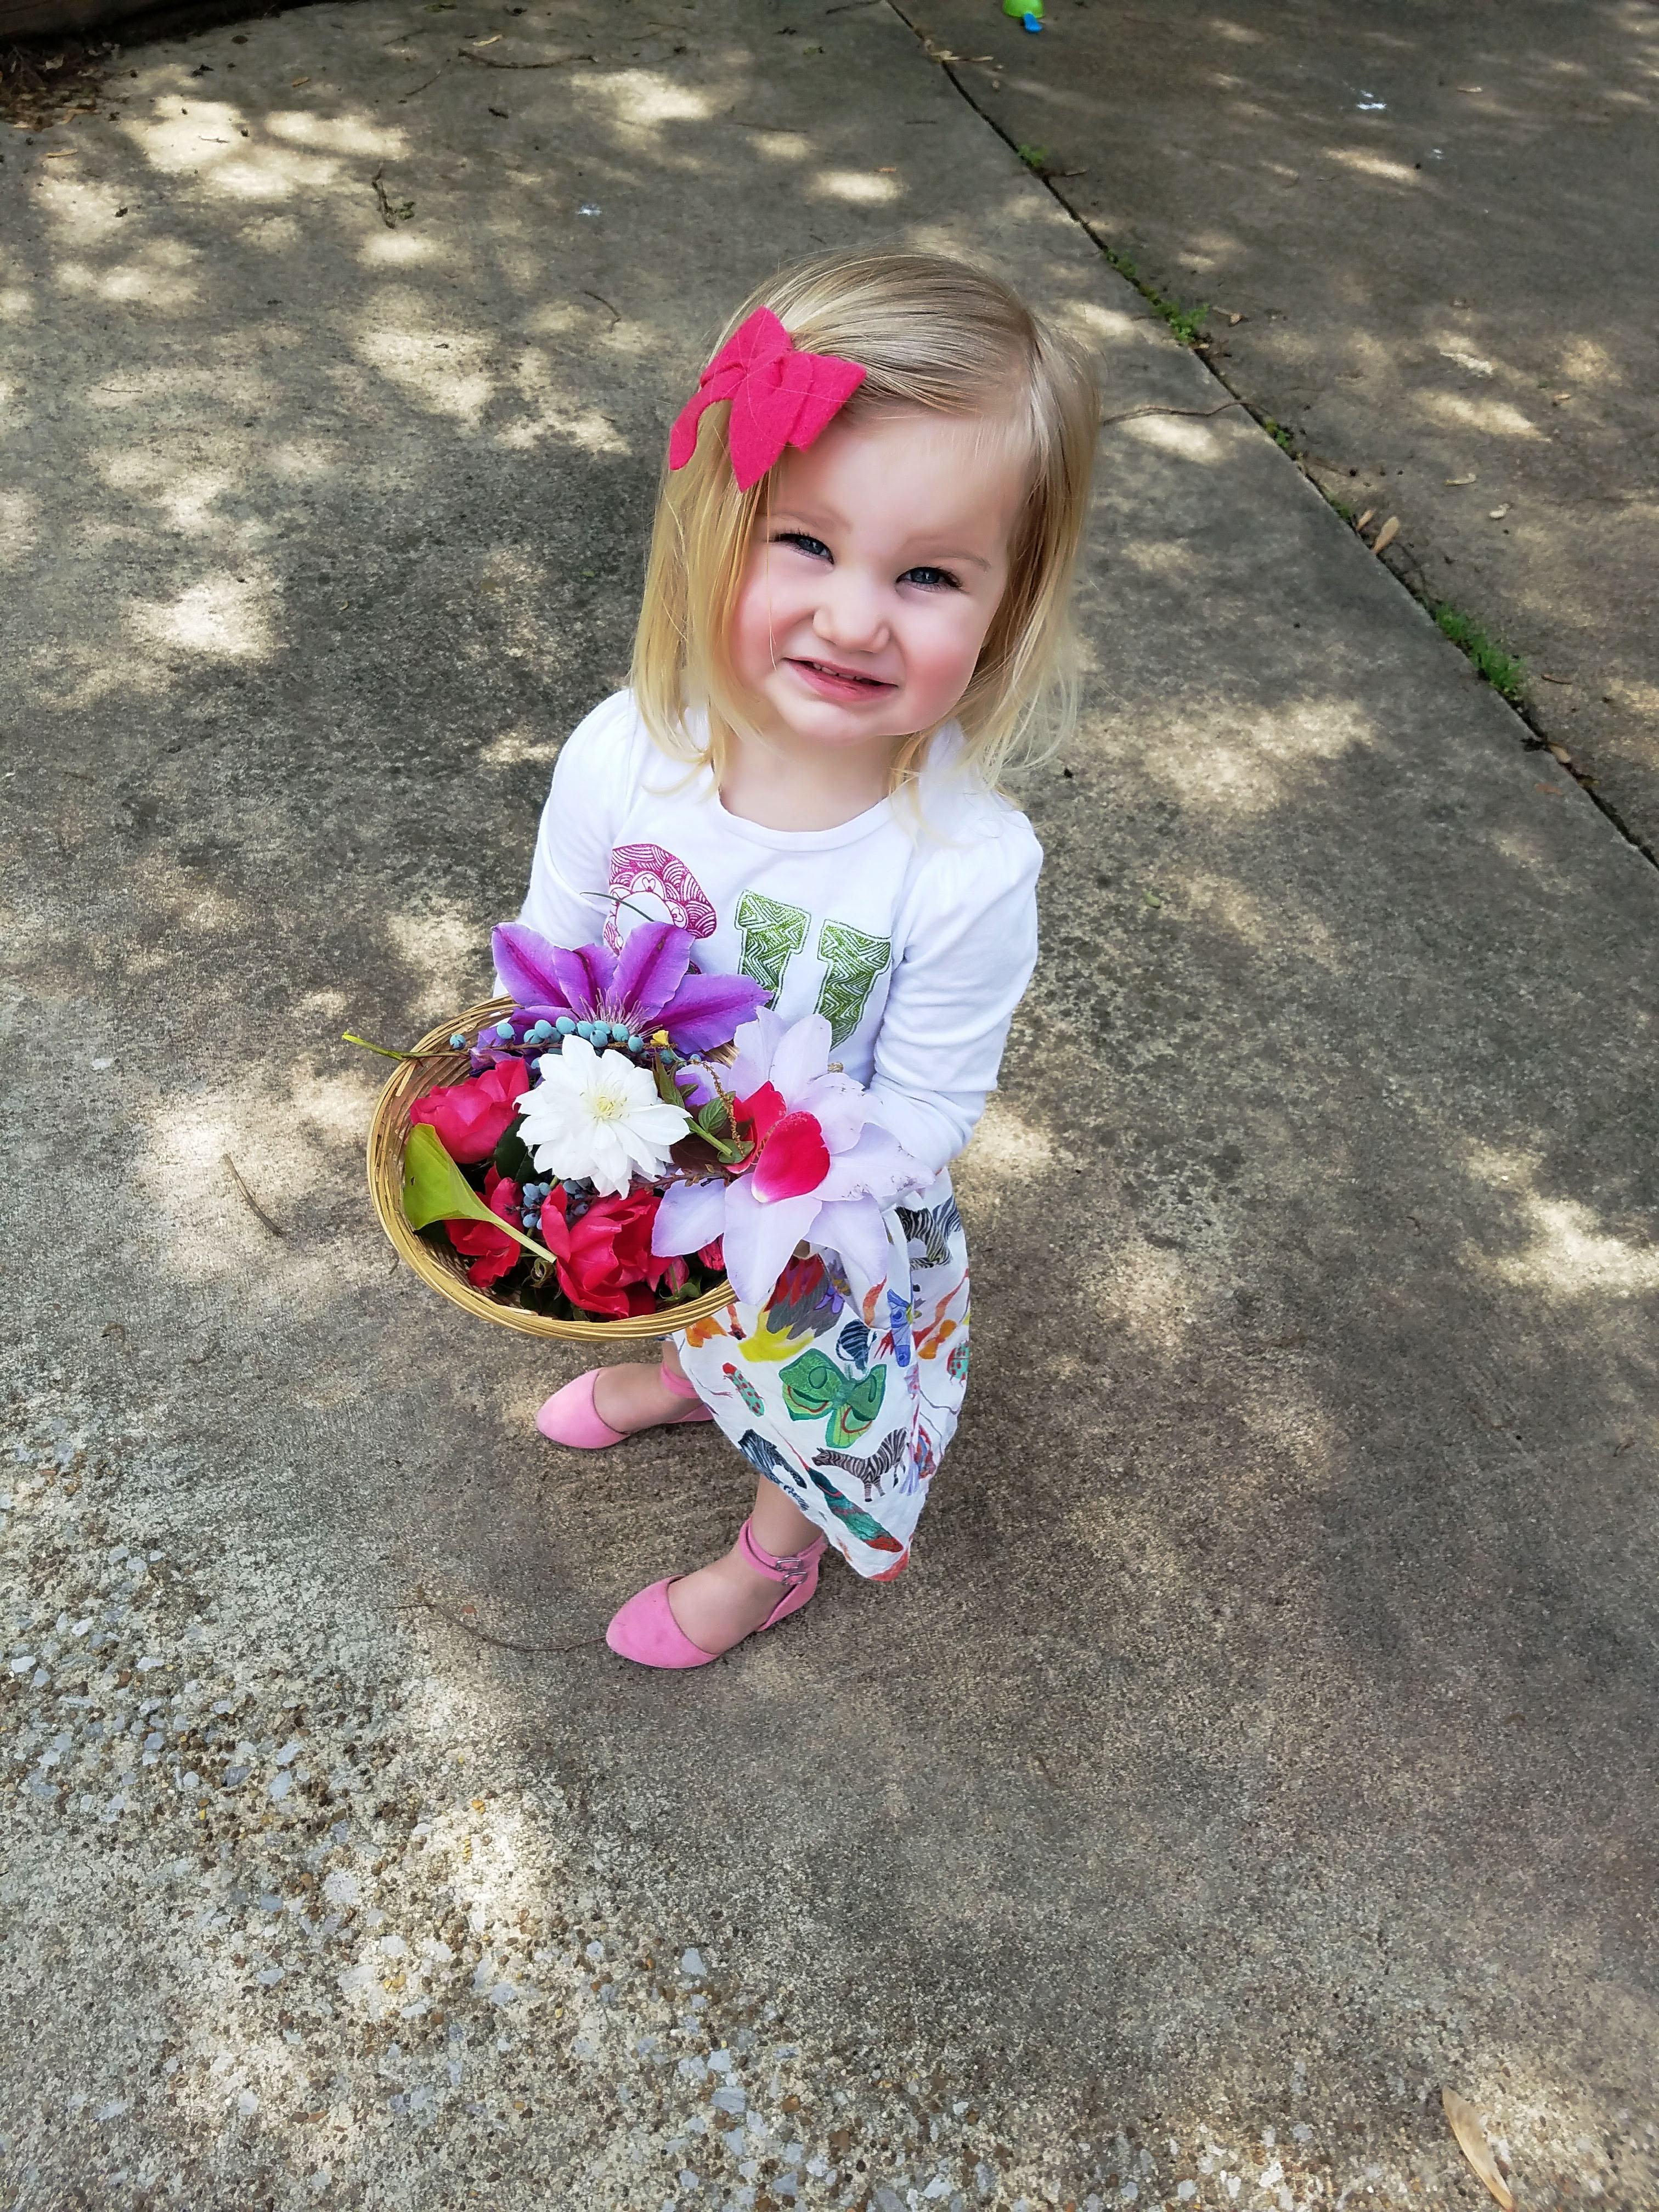
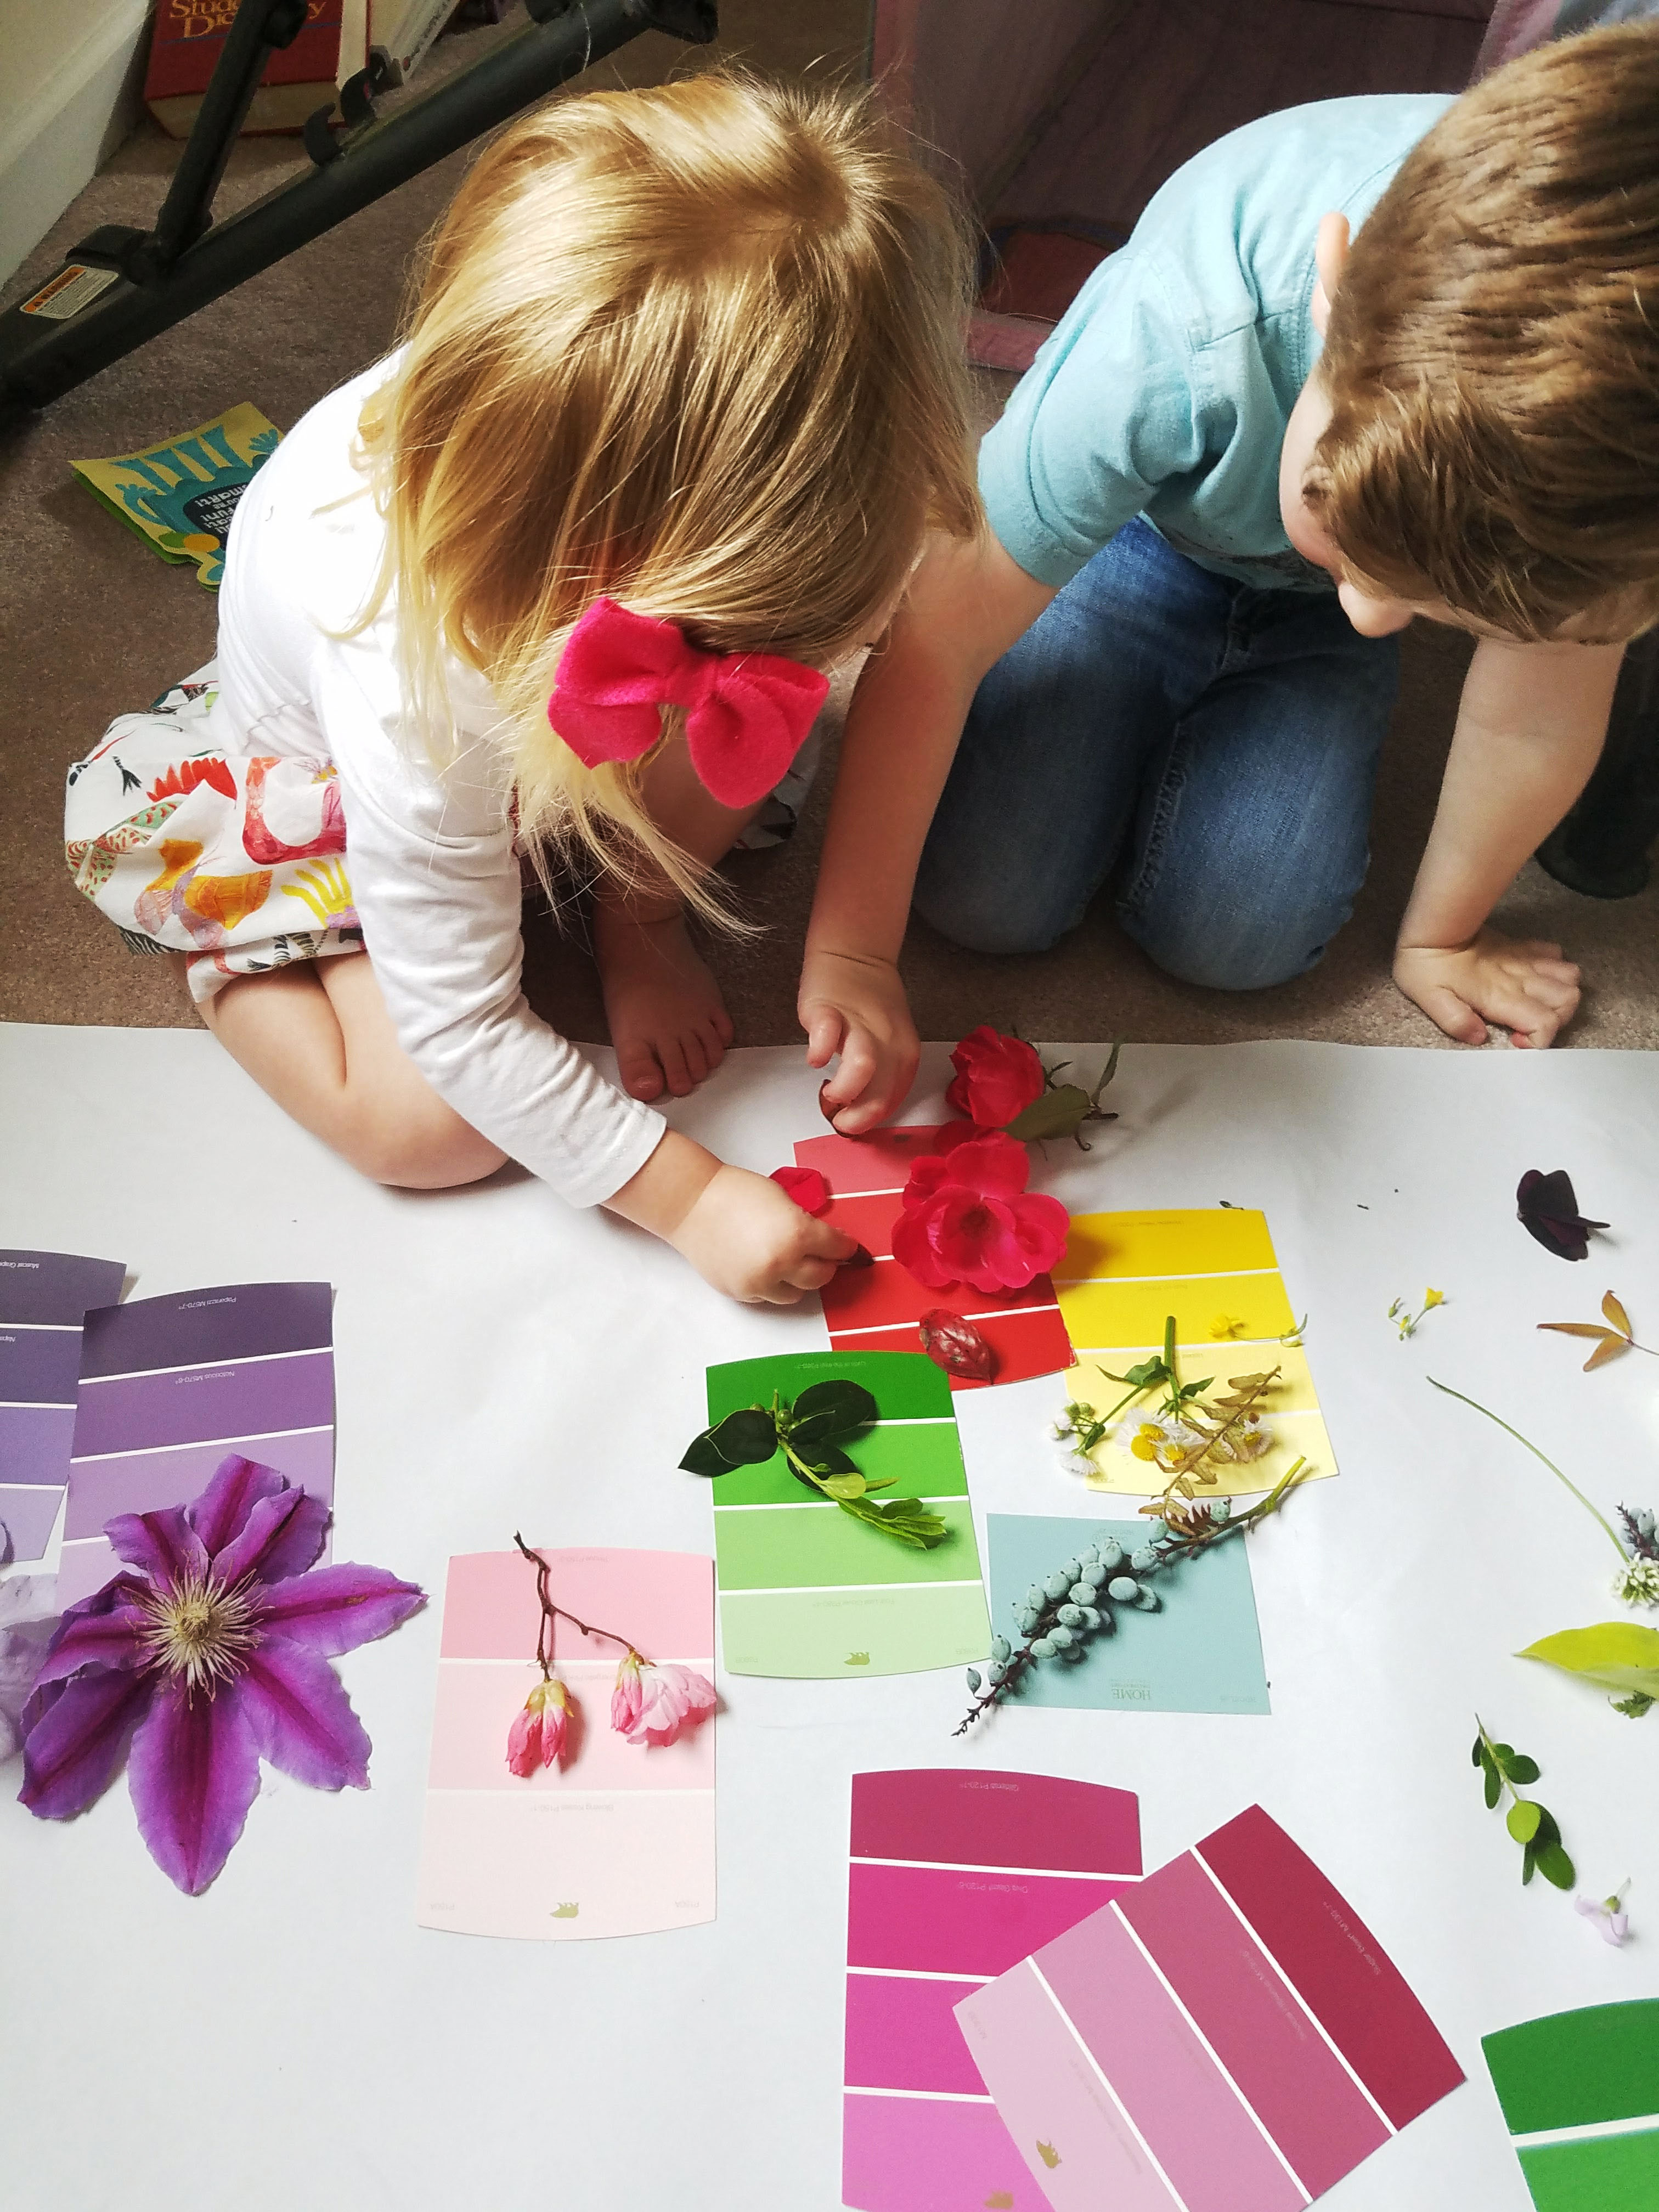
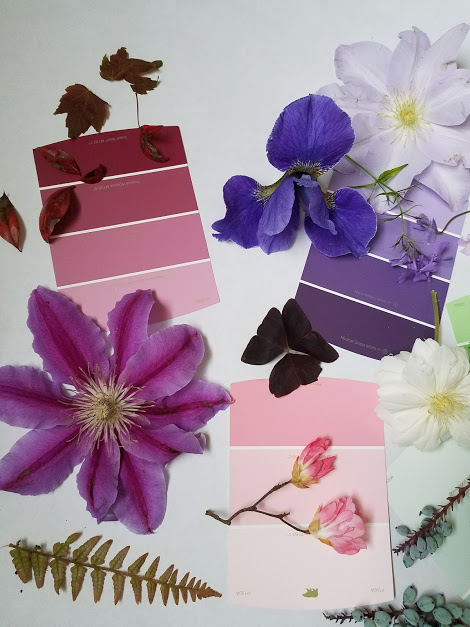
After the kids felt like they had collected enough variety of colorful treasures, we headed home and got busy. We laid out all of the paint swatches, and emptied their basket and went to town. It’s a pretty straightforward process from here. The kids take their collectibles from their hunt and try to match them up with the paint swatches closet to their color. They seriously had the best time matching them up. It initiated a great conversation about color theory and textures. We talked about whether or not they had a flower or weed and talked about how some weeds are really beautiful.
When the kids were sick of playing with plants and colors, we decided to save all our pretty things and do some good ol’ fashioned book flower pressing (one of my favorite things to do when I was little). We saved these flowers for future projects. The paint swatches were also saved for some fun future projects.
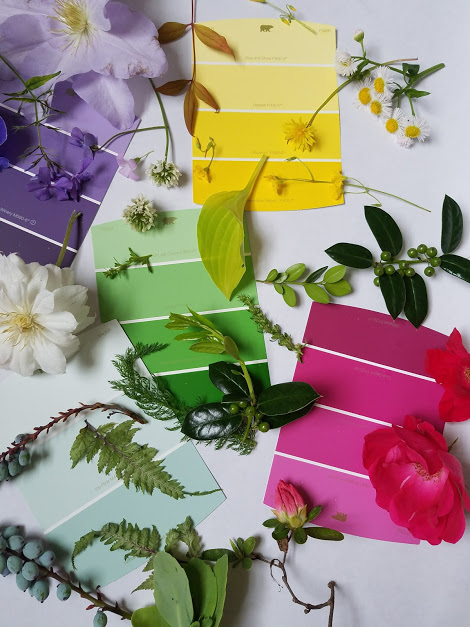
I definitely recommend doing this activity with your kids. For such little effort and no cost, we all had so much fun and got to learn about and appreciate so many new things.
